30+ Healthy Homemade Snacks for Kids
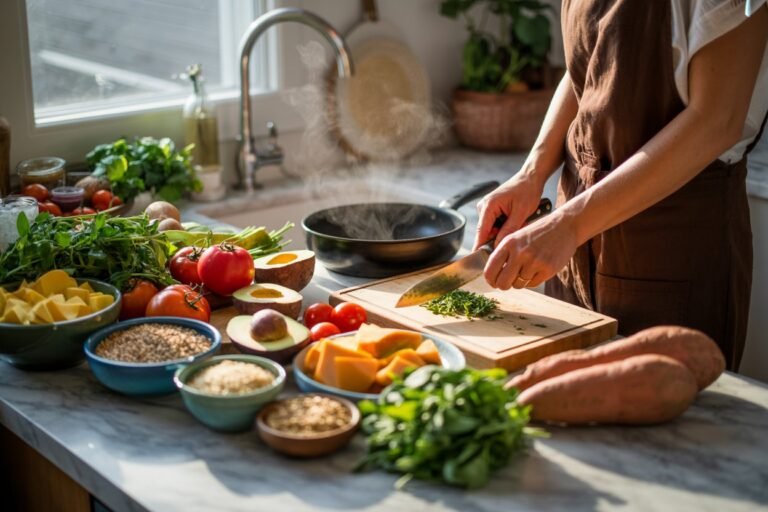
Finding healthy snacks for your kids can feel like a full-time job, can’t it? I know I’ve spent countless afternoons standing in my kitchen, trying to think of something quick, wholesome, and different from what they had yesterday.
I want you to know I get it. You want snacks that are actually good for them, but they also have to taste good enough that your little one doesn’t give you that “seriously, mom?”
look. I’ve been there, and it is not fun.
That is why I put together this list of snacks I personally reach for when I need something fast for school mornings, after-school hunger attacks, or those “I’m hungry” moments that somehow happen five minutes after lunch.
These snacks are simple, affordable, and truly kid-approved. I promise you, they will not fake it just to be polite, and neither will I.
So here are 15 wholesome snack ideas that I know you will love making and your kids will love eating.
They are easy, tasty, and exactly what you need to make snack time feel a little less stressful.
What Makes These Recipes Special
I love these snacks because they are simple, quick, and actually work in real life. I don’t have hours to spend in the kitchen, and I know you don’t either.
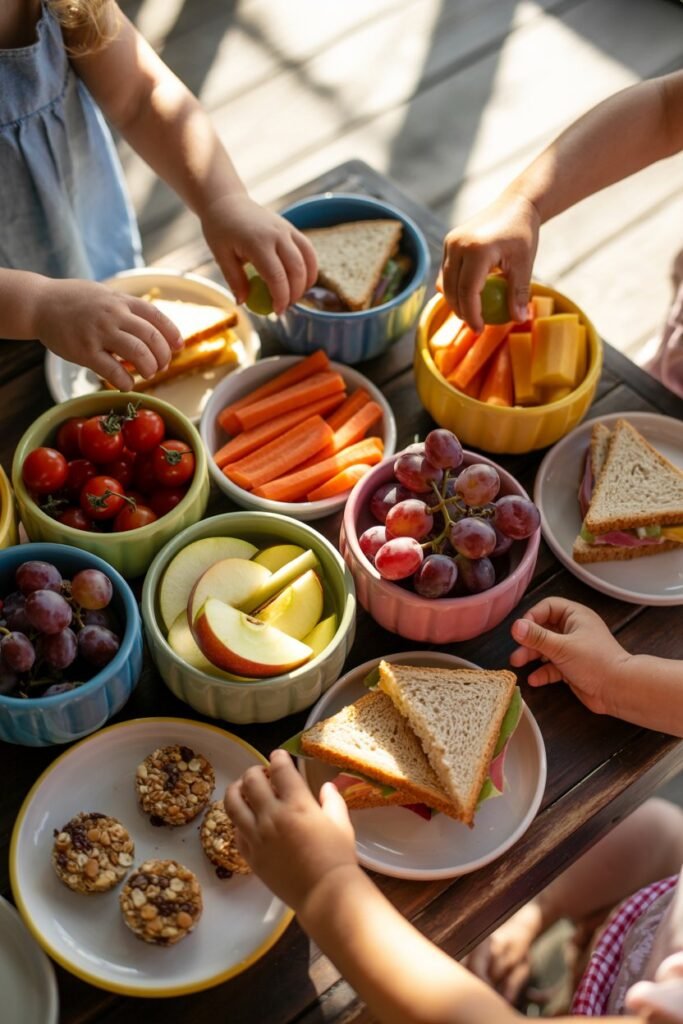
They are kid-approved too. I’ve tested them on my own little ones, and they actually eat them without complaints.
I also love how flexible they are. You can swap ingredients, adjust flavors, and still end up with something your kids will love.
Finally, they are nourishing without being boring. I feel good giving these snacks to my kids, and you will too.
Here are some other recipes i know you wil check out – Easy and Healthy Snack Recipes for Grown Ups & Pumpkin Protein Balls (Gluten-Free & Vegan)
Fruit-Based Snacks
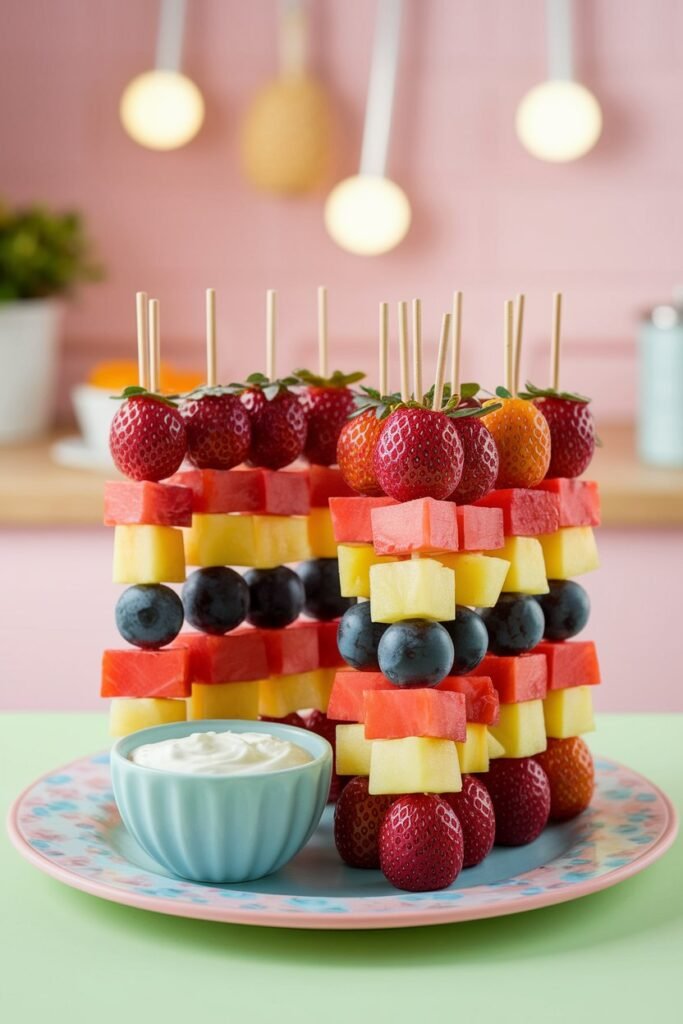
1. Fruit Kebabs with Yogurt Dip
Ingredients:
- 1 cup strawberries, halved
- 1 cup grapes, washed
- 1 cup pineapple chunks
- 1 cup melon cubes
- ½ cup Greek yogurt (plain or vanilla)
- 1 tsp honey (optional)
- Bamboo skewers, cut into 4-inch lengths
Instructions:
I love this recipe because it’s one of those snacks that looks fancy but takes just minutes to put together. Start by threading the fruit onto the mini skewers—mix up the colors because it makes the kebabs look extra fun and kid-friendly.
I usually go strawberry → grape → pineapple → melon, but you can let your little ones choose their own pattern.
In a small bowl, stir together the Greek yogurt and a tiny drizzle of honey if you want it a little sweeter. That yogurt dip is the real hero here—creamy, tangy, and packed with protein.
Once everything is ready, serve the kebabs with the yogurt dip on the side.
My favorite part? Letting the kids make their own. It turns snack time into a mini activity, and they’re always more excited to eat something they helped create. It’s messy, fun, and honestly… a great way to get them to eat more fruit without even trying.
2. Apple “Sandwiches”
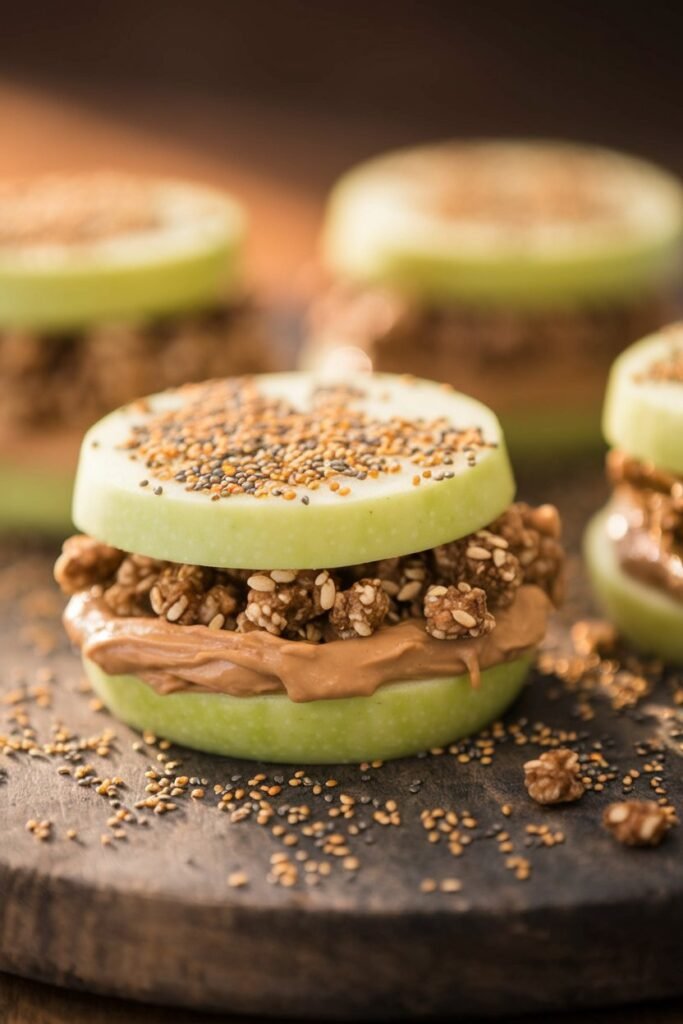
I’ve learned that getting kids to eat something healthy can feel like a full-time job. That’s why I love this snack—it’s simple, colorful, and fun to make, and you can actually get your little ones involved in assembling it. Plus, it’s filling, full of fiber, protein, and healthy fats, and disappears almost as quickly as you make it.
Ingredients
2 apples, cored and sliced into ½-inch rounds – I like to choose firm apples so the slices don’t get mushy.
¼ cup peanut butter (or sunflower seed butter) – peanut butter gives protein and healthy fats, while sunflower seed butter is perfect if your kid has nut allergies.
2 tbsp granola – adds a satisfying crunch and extra fiber.
1 tsp chia seeds (optional) – a tiny nutritional boost packed with omega-3s.
Instructions
- Spread a generous layer of peanut butter on one apple slice. I usually use a small butter knife and let kids do this step—it’s great for fine motor skills.
- Sprinkle granola and chia seeds over the peanut butter. You can get creative here; I sometimes add raisins or mini chocolate chips as a treat.
- Place a second apple slice on top to form a little “sandwich.” Press gently so it sticks together but doesn’t squish the apples.
- Optional: Squeeze a bit of lemon juice on the apple slices before assembling. It prevents browning and keeps the snack looking fresh.
💡 Helpful Tips:
- Letting kids assemble their own sandwiches makes snack time interactive and teaches them about portion sizes.
- You can swap peanut butter for almond butter or cream cheese depending on your preference.
- If the apples are too tart, a light drizzle of honey or a sprinkle of cinnamon makes a big difference without adding processed sugar.
This snack is a lifesaver when you need something quick, healthy, and kid-approved. I promise, once you try it, you’ll find yourself making multiple batches just to keep up with the little hands reaching for more.
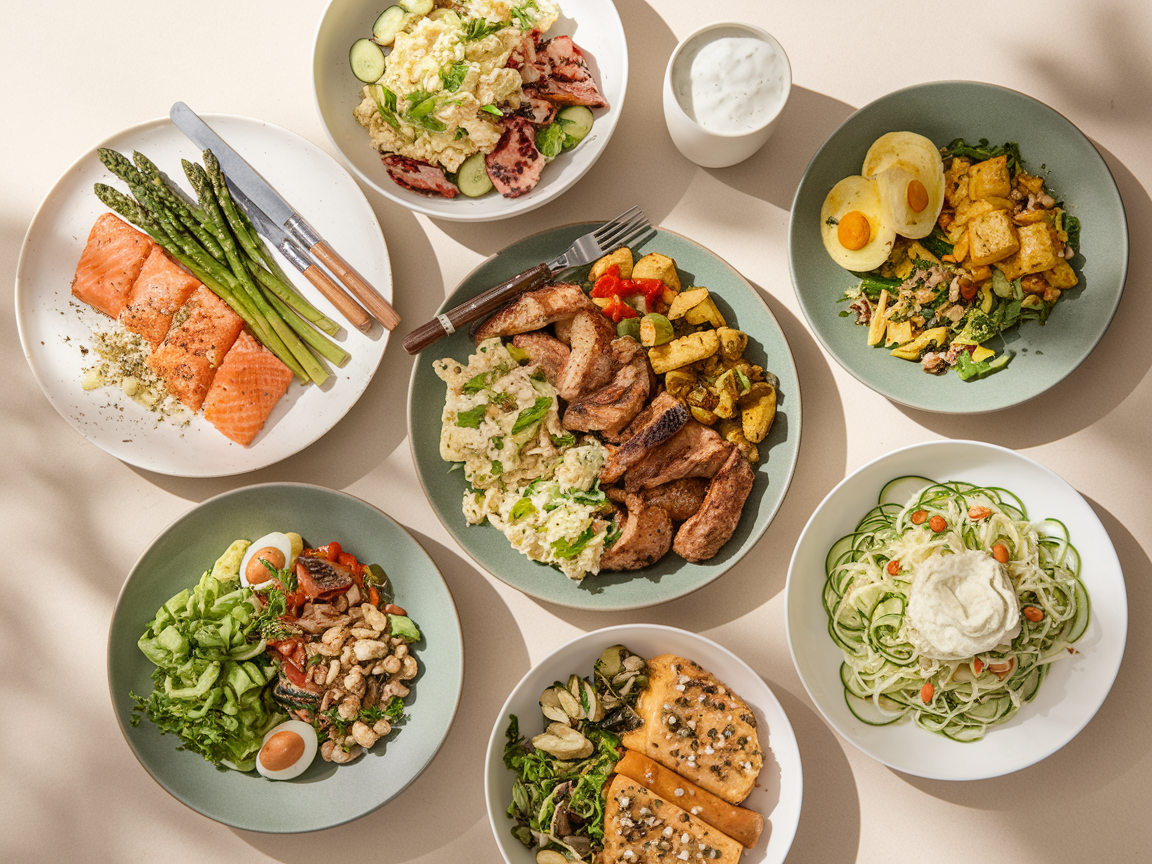
3. Banana Sushi Rolls
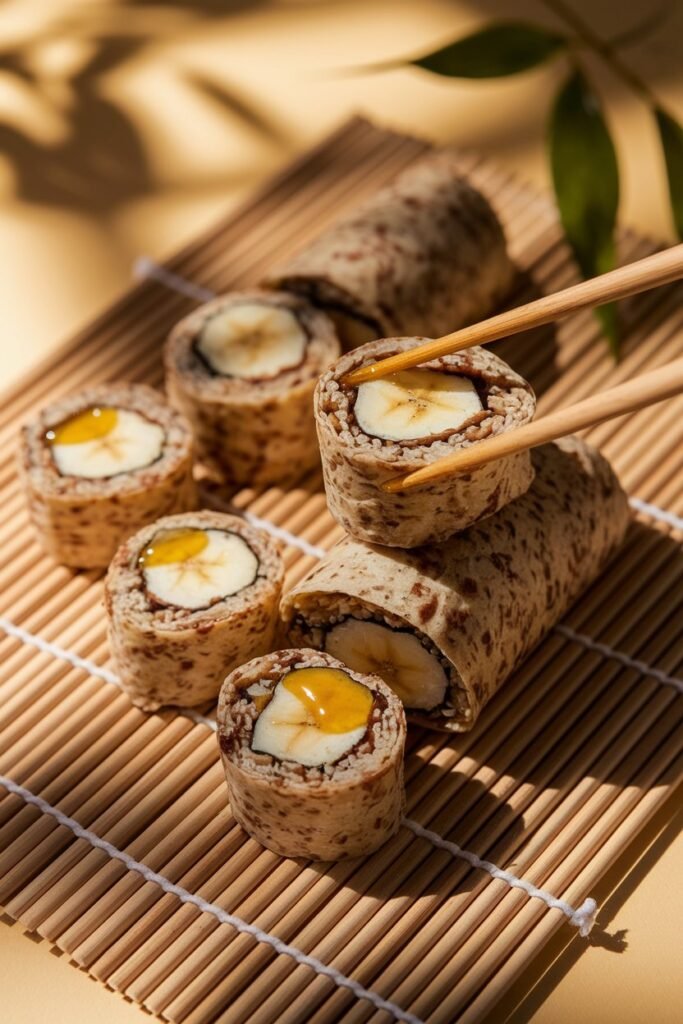
I love this snack because it feels fun and special, but it’s super easy to make. The combination of sweet banana, creamy almond butter, and a hint of cinnamon always gets my kids excited, and I don’t have to worry about extra sugar sneaking in. It’s perfect for after school, a quick breakfast, or a little energy boost before practice.
Ingredients
2 large bananas – I like firm bananas so they hold together when rolled.
2 whole-grain tortillas – whole-grain adds fiber and keeps the snack more filling.
3 tbsp almond butter (or soy nut butter) – creamy, protein-packed, and keeps the little hands busy spreading!
1 tbsp honey – optional, just a touch for extra sweetness if your kid can have it.
1 tsp cinnamon – adds warmth and flavor without sugar.
Instructions
- Lay a tortilla flat and spread almond butter evenly over the surface. I usually let kids do this part—it’s messy but fun.
- Drizzle honey and sprinkle cinnamon over the almond butter for that perfect sweet-spicy balance.
- Peel a banana and place it at one edge of the tortilla. Roll the tortilla tightly around the banana, making sure it’s snug but not squished.
- Slice the rolled tortilla into 1-inch “sushi” pieces. They look cute, are easy to grab, and taste like a little treat!
💡 Helpful Tips:
- You can switch up the nut butter—peanut butter works too, or even sunflower seed butter for nut-free options.
- For a little extra crunch, add a sprinkle of granola or crushed nuts inside before rolling.
- If the tortilla is too soft and tears easily, warm it slightly in the microwave for 10–15 seconds to make it more pliable.
This snack always disappears fast in my house—it’s simple, healthy, and feels like a mini dessert without the guilt.
See More – 12+ Easy Crockpot Dinners For Kids & Picky Eaters
4. Frozen Grapes
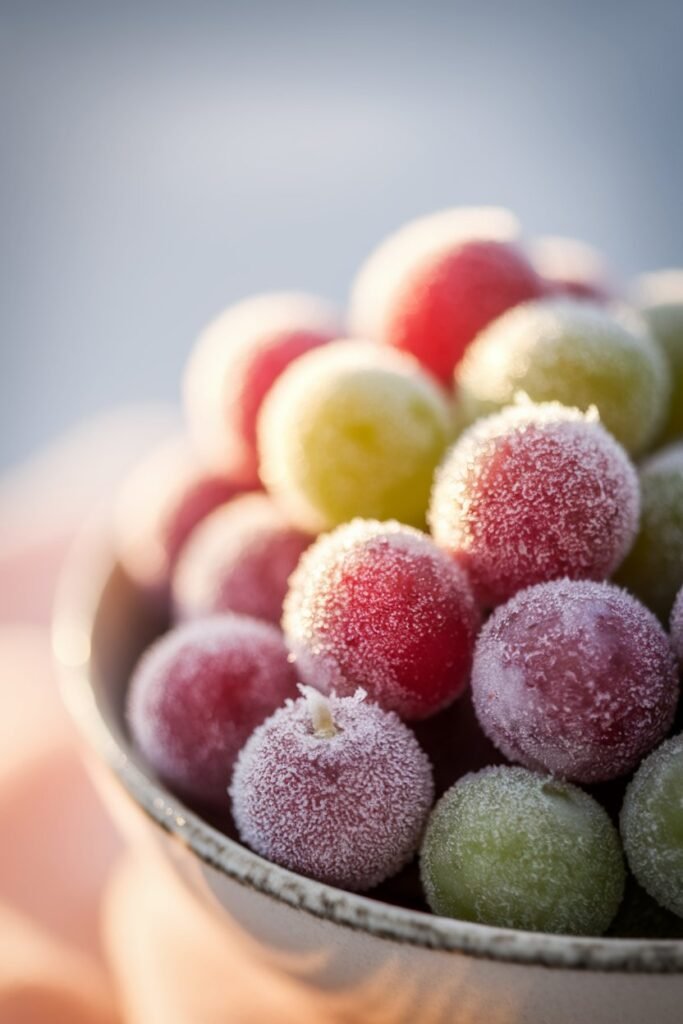
I love keeping frozen grapes on hand because they’re one of the easiest snacks to prep and always a hit with my kids. They’re naturally sweet, hydrating, and perfect for little hands. Plus, they’re versatile—you can eat them as-is, toss them in smoothies, or mix them with yogurt.
Here’s how I make them foolproof and toddler-safe:
Ingredients
- 2 cups seedless grapes (red, green, or a mix for color variety)
Instructions
- Wash and dry thoroughly
Give the grapes a good rinse and pat them dry. I like to lay them on a paper towel so they’re not slippery—this helps the coating freeze properly and prevents sticking. - Single layer freeze
Spread the grapes in a single layer on a baking sheet. This keeps them from clumping together so you can grab exactly how many you want later. - Freeze for 4+ hours
Let them freeze until completely solid. Once frozen, transfer them to a zip-top bag or airtight container. This makes them easy to grab for snacks anytime. - Toddler-friendly tip
Slice grapes in half for younger kids to reduce choking risk. It also makes them easier to eat and share.
Why I Love Frozen Grapes
- No prep later – Once they’re frozen, I can grab a handful and go.
- Naturally sweet – Perfect for satisfying a sugar craving without added sugar.
- Hydrating snack – Great for hot afternoons or post-playtime refreshment.
- Versatile – Use in smoothies, yogurt bowls, or just snack on them straight from the freezer.
💡 Pro Tip: You can mix grapes with other freeze-friendly fruits like blueberries or chopped strawberries for a colorful, refreshing fruit medley.
5. Berry Yogurt Bark
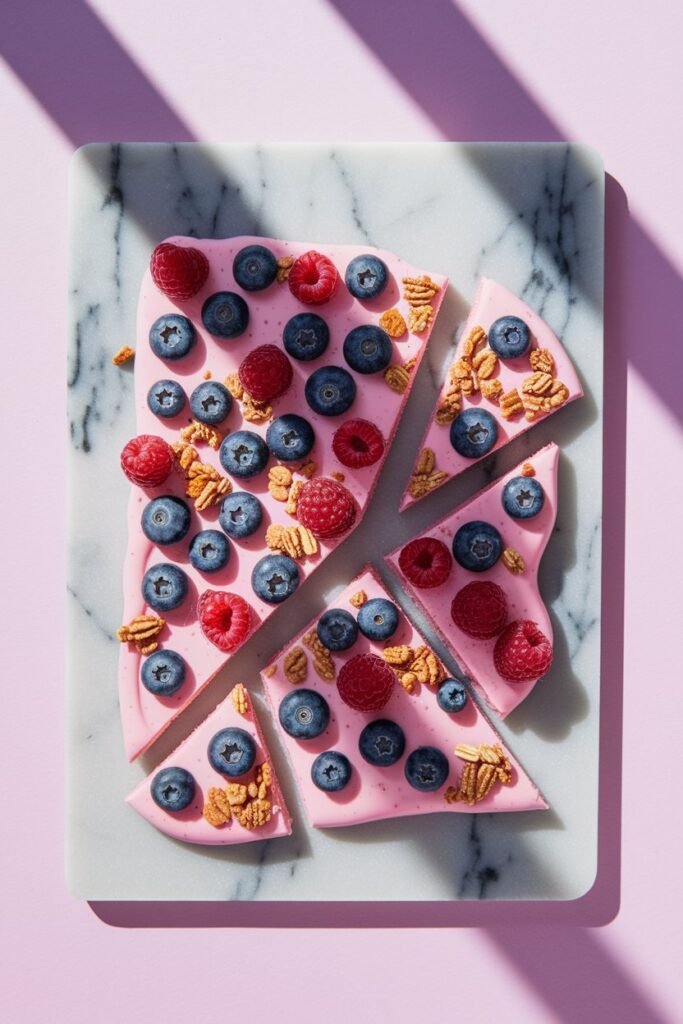
If you’re looking for a snack that feels like a treat but is still healthy, this frozen yogurt bark is my go-to. It’s creamy, naturally sweet, and full of berries that pack a punch of vitamins. Plus, it’s super easy to make—you can prep it in minutes and have a ready-to-grab snack for the week.
Ingredients
- 1.5 cups Greek yogurt (plain or vanilla)
- 1 tbsp honey (optional, for a touch of sweetness)
- ½ cup mixed berries (blueberries, raspberries, sliced strawberries)
- 2 tbsp granola
Instructions
- Mix the base
In a bowl, stir together the Greek yogurt and honey until smooth. I love using Greek yogurt because it’s thick, creamy, and protein-packed—it keeps little tummies full between meals. - Spread the yogurt
Line a baking sheet with parchment paper. Spread the yogurt mixture evenly to about ¼-inch thickness. This ensures it freezes quickly and breaks apart easily later. - Add toppings
Sprinkle the mixed berries and granola evenly over the yogurt. I like to press them down lightly so they stick to the yogurt once frozen. - Freeze until firm
Place the baking sheet in the freezer for 3–4 hours or until completely frozen. - Break and serve
Once frozen, lift the parchment paper, break the bark into bite-sized pieces, and serve. You can store leftovers in a freezer-safe bag for up to 2 weeks—perfect for quick snacks or lunchbox additions.
Why I Love This Snack
- Quick and no-bake – I can prep it while the kids play, and it’s ready in a few hours.
- Customizable – Swap berries for mango, kiwi, or even mini chocolate chips if your kids are feeling fancy.
- Protein-packed – Greek yogurt keeps my kids full and energized.
- Fun and colorful – They love choosing which piece to eat, making snack time interactive.
💡 Pro Tip: For extra crunch, sprinkle seeds or coconut flakes on top before freezing. It adds texture and extra nutrients without extra sugar.
2. Veggie-Packed Bites
6. Zucchini Tots
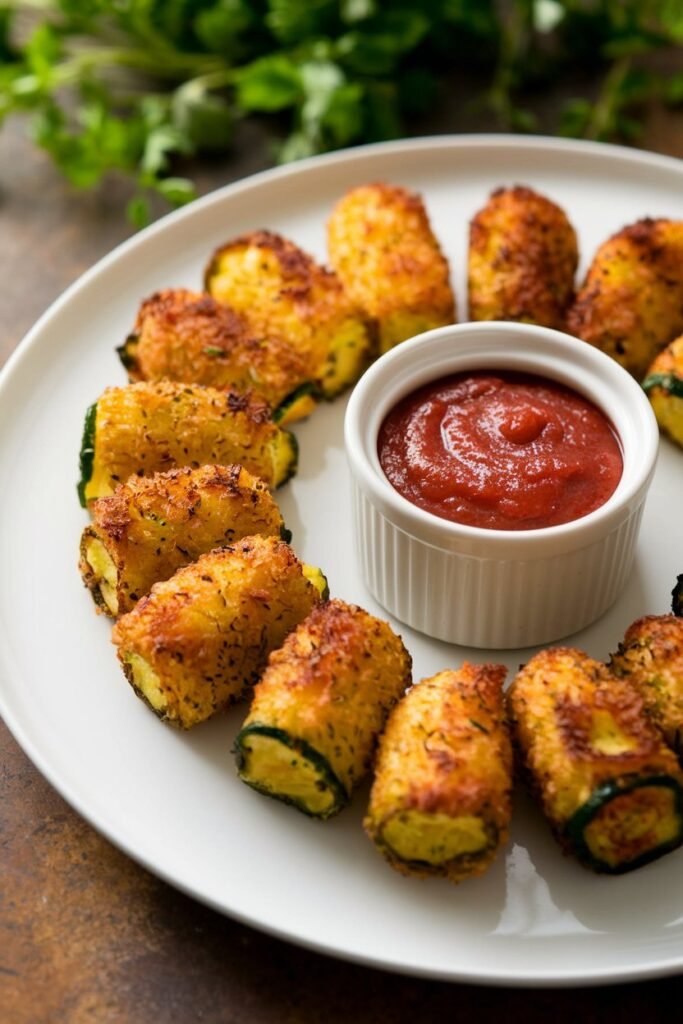
I love these zucchini tots because they’re a sneaky way to get extra veggies into your kids’ meals—and honestly, I eat them just as happily as they do. Crispy on the outside, soft and cheesy on the inside, they make the perfect snack, side dish, or lunchbox addition.
Ingredients
- 2 medium zucchinis, grated and squeezed dry (removing excess moisture keeps them crispy!)
- 1 egg
- ½ cup breadcrumbs (or almond flour for a gluten-free version)
- ¼ cup shredded cheddar cheese
- ½ tsp garlic powder
- Salt and pepper to taste
Instructions
- Prep your oven and zucchini
Preheat your oven to 400°F (200°C) and lightly grease a baking sheet. While it heats, grate your zucchinis and press out as much water as possible—this step is key for crispy tots. - Mix everything together
In a large bowl, combine the zucchini, egg, breadcrumbs, cheese, garlic powder, salt, and pepper. I like to use my hands to mix gently until it forms a slightly sticky dough that holds together. - Shape the tots
Scoop about 1 tablespoon of the mixture and roll it into small tot shapes. Place them on the prepared baking sheet, leaving a little space between each one so they bake evenly. - Bake to golden perfection
Bake for 18–20 minutes, flipping halfway through so each side gets that beautiful golden color. Your kitchen will smell amazing by the time they’re done! - Serve and enjoy
I love serving these with a small dish of marinara or ranch for dipping. They’re perfect for after-school snacks, family dinners, or even as a fun appetizer.
Why I Love This Snack
- Sneaky veggie boost – Even picky eaters usually gobble these up without complaint.
- Quick and easy – From mixing to baking, they’re ready in under 30 minutes.
- Customizable – Swap cheddar for mozzarella or add finely chopped herbs for extra flavor.
- Kid-approved crunch – Baking instead of frying keeps them healthier but still crispy enough to satisfy.
💡 Pro Tip: If you want extra crispiness, lightly spray the tots with olive oil before baking. It gives them a golden, slightly crunchy finish without deep-frying.
7. Sweet Potato Fries with Guacamole
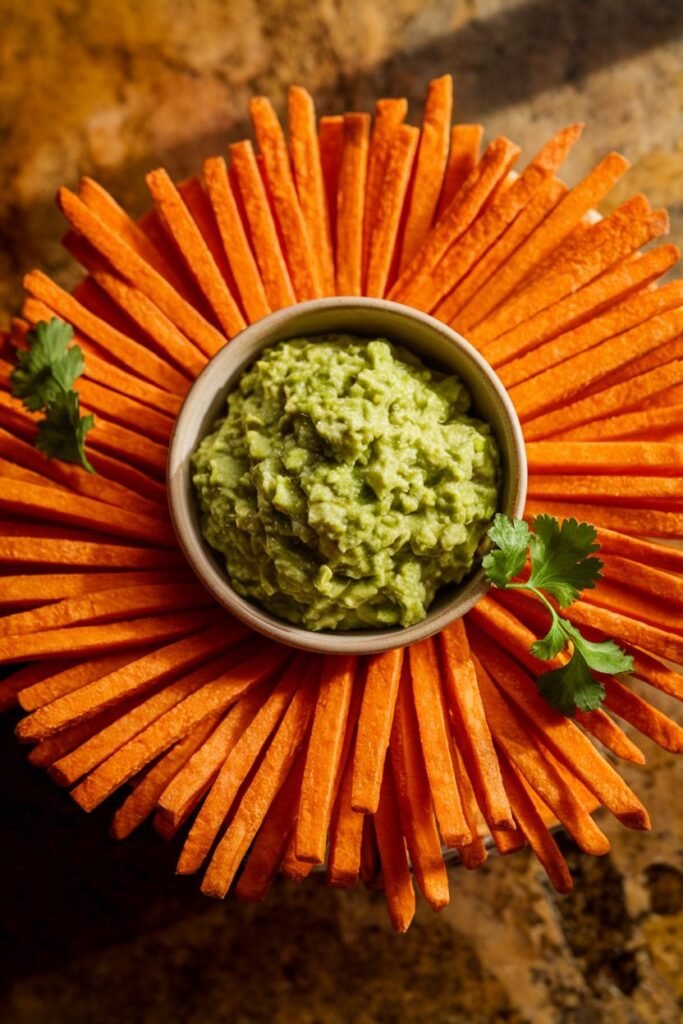
I love making these sweet potato fries because they’re crunchy, naturally sweet, and pair perfectly with a quick, creamy guacamole. It’s one of those snacks or side dishes that feels indulgent but is totally wholesome—and honestly, I can’t resist sneaking a fry or two while the kids dig in!
Ingredients
- 2 large sweet potatoes, peeled and cut into fries
- 2 tbsp olive oil
- 1 tsp paprika
- ½ tsp salt
- 1 ripe avocado
- 1 tbsp lime juice
- 1 tbsp diced tomato (optional, for extra freshness)
Instructions
- Preheat and prep
Set your oven to 425°F (220°C) and line a baking sheet with parchment paper. While it heats, peel and cut your sweet potatoes into evenly sized fries so they cook consistently. - Season and bake
In a large bowl, toss the sweet potato fries with olive oil, paprika, and salt until every piece is lightly coated. Spread them out in a single layer on your prepared baking sheet. Bake for 25–30 minutes, flipping halfway through so they crisp up evenly. - Make the guacamole
While the fries are baking, mash your avocado with lime juice in a small bowl. Stir in diced tomato if you like a fresh pop of flavor. This simple guac adds creaminess and tang that pairs perfectly with the sweet, roasted fries. - Serve and enjoy
Plate the fries and serve immediately with your homemade guacamole on the side. I love letting the kids dip each fry themselves—it’s fun, interactive, and gets them excited about healthy foods.
Why I Love This Snack
- Healthy and filling – Sweet potatoes are packed with fiber and vitamins, and avocado adds heart-healthy fats.
- Quick and easy – From prep to serving, it takes about 30 minutes.
- Kid-friendly – The natural sweetness of the fries makes them a hit even with picky eaters.
- Customizable – Sprinkle with chili powder, garlic powder, or fresh herbs for an extra flavor boost.
💡 Pro Tip: Spread the fries out evenly and don’t overcrowd the pan—this keeps them crispy instead of soggy.
8. Cucumber “Sandwiches”
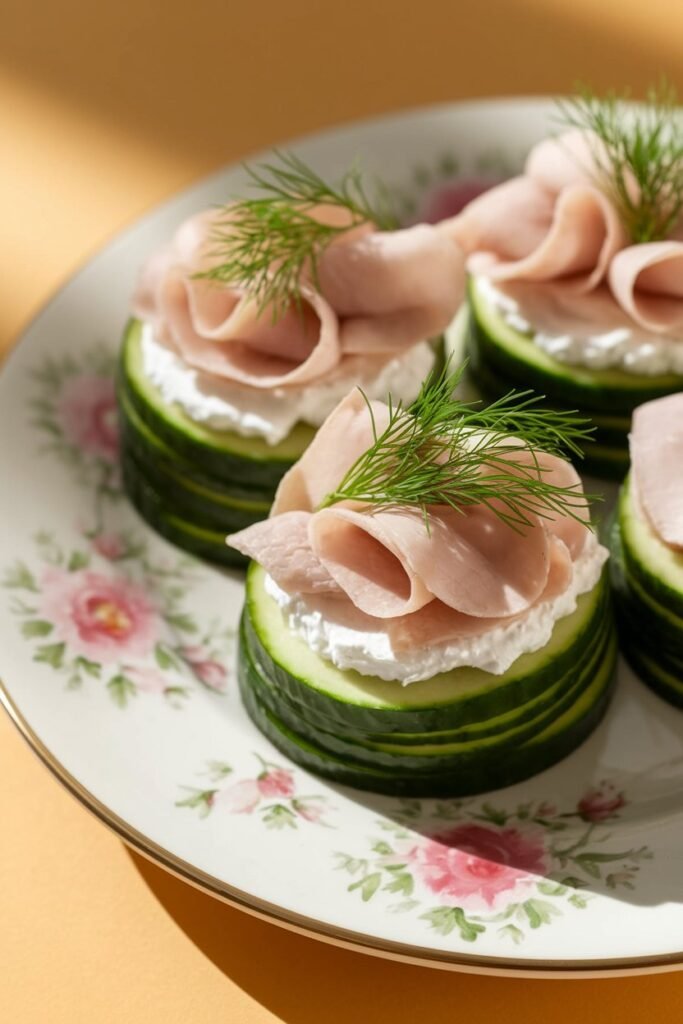
I love making these little bites because they’re fresh, crunchy, and packed with protein. They’re one of those snacks I can whip up in minutes, and my kids actually enjoy eating vegetables when they look fun and colorful! Plus, they’re perfect for school lunches, after-school snacks, or even a light appetizer when friends come over.
Ingredients
- 1 large cucumber, sliced into ½-inch rounds
- ¼ cup cream cheese (or dairy-free spread)
- 4 slices deli turkey, cut into small circles
- Fresh dill (optional, for garnish)
Instructions
- Prepare your base
Slice your cucumber into even rounds—about ½ inch thick works best. This gives a sturdy base for the toppings and makes them easy for little hands to pick up. - Add the cream cheese
Spread a thin layer of cream cheese over each cucumber slice. I like to soften it slightly beforehand so it’s easier to spread evenly without tearing the cucumber. - Top with turkey
Cut your deli turkey into small circles or fun shapes using cookie cutters, then place one on each cucumber round. - Garnish and serve
Sprinkle a little fresh dill on top for flavor and a pop of color. These bites are ready to serve immediately, or you can prep them ahead and store in the fridge for a couple of hours.
Why I Love These Snacks
- Quick and easy – Ready in less than 10 minutes, no cooking required.
- Kid-approved – Fun shapes and colorful presentation make veggies exciting.
- Healthy and protein-packed – The cream cheese and turkey add protein, while cucumber keeps it light and hydrating.
- Versatile – Swap cream cheese for hummus or turkey for ham—endless variations!
💡 Pro Tip: Let your kids help with shaping the turkey—they love making their own creations, and it encourages them to try new flavors.
9. Veggie Pinwheels
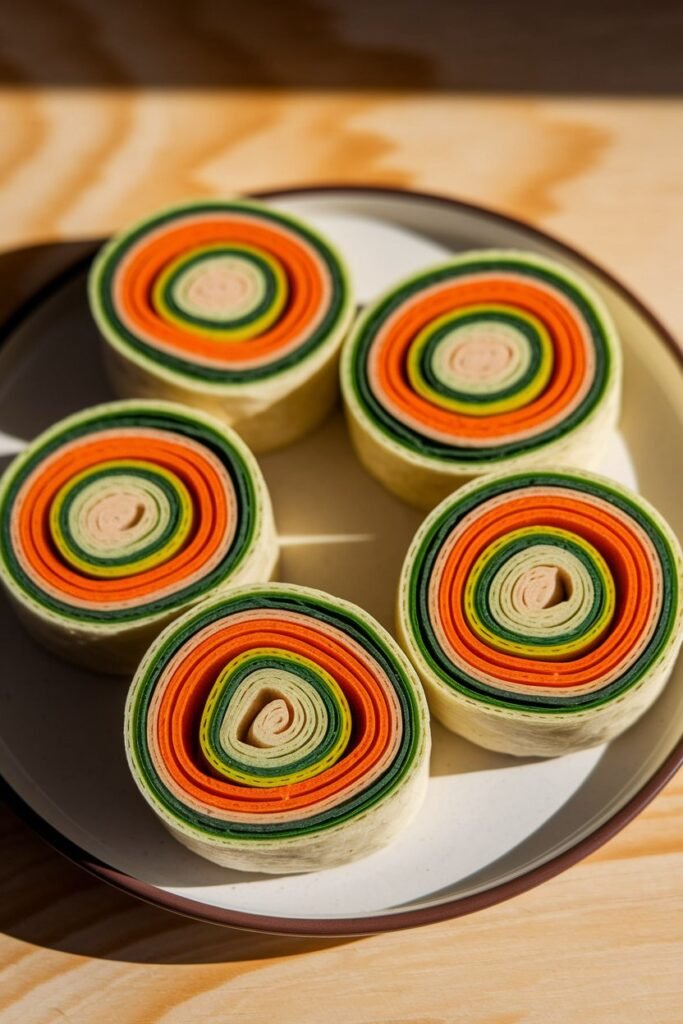
I always keep these on hand because they’re colorful, crunchy, and make lunchtime feel fun without much effort. I love that I can sneak in veggies my kids might usually skip, and the pinwheel shape makes them super inviting. They’re perfect for school lunches, after-school snacks, or even a quick bite when you’re on the go.
Ingredients
- 2 large whole-grain tortillas
- ⅓ cup hummus
- ½ cup shredded carrots
- ½ cup baby spinach
- 2 tbsp ranch dressing
Instructions
- Spread the hummus
Lay your tortillas flat and spread hummus evenly across each one. I like using hummus as a base because it adds flavor and keeps everything together when you roll it up. - Add your veggies
Layer the shredded carrots and baby spinach on top. Try to distribute them evenly so each pinwheel has a little bit of everything. - Drizzle the dressing
Add a thin drizzle of ranch over the veggies. This adds a creamy flavor that kids love and helps the pinwheels hold together. - Roll and slice
Roll the tortillas tightly from one end to the other. Slice into 1-inch pinwheels using a sharp knife. Arrange on a plate and serve immediately, or store in the fridge for a few hours for a grab-and-go snack.
Why I Love These Snacks
- Quick and fuss-free – Ready in under 10 minutes, no cooking required.
- Kid-friendly – The spiral shape makes veggies exciting and fun to eat.
- Flexible and nutritious – Swap in other veggies, add cheese, or try a different spread.
- Portable – Perfect for lunchboxes or on-the-go snacking.
💡 Pro Tip: Let your kids help layer the veggies—they enjoy assembling their own pinwheels, and it makes them more likely to eat every bite!
10. Rainbow Veggie Cups
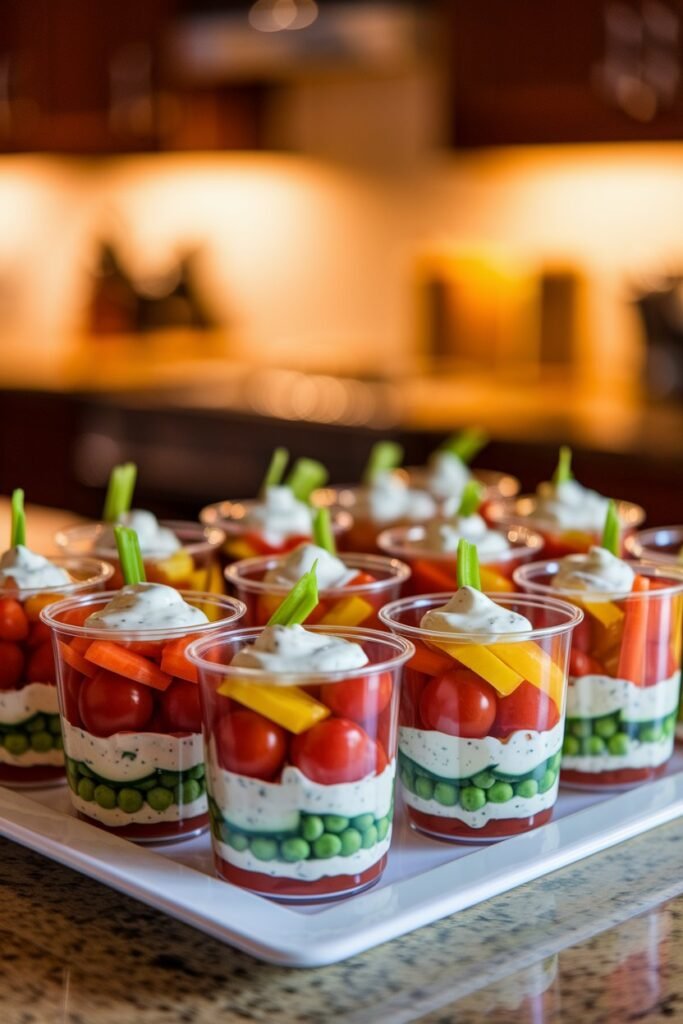
I love making these because they’re colorful, portioned perfectly for little hands, and take the fuss out of getting kids to eat their veggies. I usually prep a few at a time and keep them in the fridge for a quick snack or after-school munchies. The dip adds just enough flavor to make veggies exciting without going overboard.
Ingredients
- ½ cup cherry tomatoes
- ½ cup sliced yellow bell peppers
- ½ cup baby carrots
- ½ cup cucumber slices
- ¼ cup ranch or Greek yogurt dip
Instructions
- Prep the veggies
Wash and slice your veggies if needed. I like to keep them bite-sized so they’re easy for little fingers to grab. - Portion into cups
Divide the veggies evenly into small cups, mason jars, or muffin tins. This makes snack time feel fun and organized. - Add the dip
Place a small dollop of ranch or Greek yogurt dip on top of each cup. I usually spoon just enough so kids can dip as they go without making a mess. - Serve or store
Serve immediately, or cover and store in the fridge for 2–3 days. These are great for packing into lunchboxes or keeping on the counter for easy snacking.
Why I Love These Veggie Cups
- No-fuss portions – Pre-portioned snacks save me time and reduce arguments about how much is “enough.”
- Kid-approved – The dip makes veggies more appealing without adding extra sugar.
- Versatile – Swap in any veggies your kids like—snap peas, celery sticks, or even roasted veggies work great.
- Easy prep – I usually make a batch on Sunday, and they’re ready all week.
💡 Pro Tip: Let your kids choose and layer their own veggies. They’re more likely to eat what they helped assemble!
Protein-Powered Snacks
11. Everything Bagel Hard-Boiled Eggs
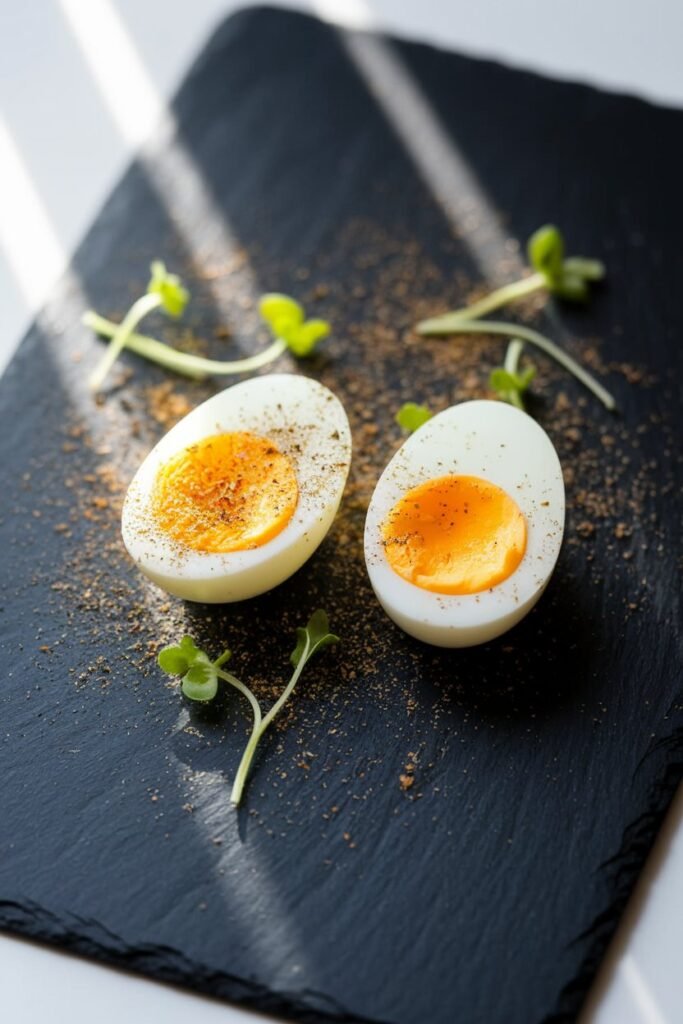
I love these because they’re quick, satisfying, and feel a little fancy without any extra effort. They’re perfect for breakfast, a snack, or even a protein boost in a lunchbox. The Everything Bagel seasoning adds that irresistible crunch and flavor, and honestly, it makes peeling and eating hard-boiled eggs way more fun!
Ingredients
- 6 eggs
- 1 tbsp Everything Bagel seasoning
Instructions
- Boil the eggs
Place your eggs in a pot and cover them with cold water. Bring to a rolling boil over medium-high heat. I like to watch for that first bubble—it’s oddly satisfying! - Let them rest
Remove the pot from the heat and cover it with a lid. Let the eggs sit in the hot water for 10 minutes. This step ensures a perfectly cooked yolk every time. - Cool and peel
Transfer the eggs to a bowl of ice water for a few minutes. Cooling them quickly stops the cooking process and makes peeling much easier. Slice each egg in half once cooled. - Add the seasoning
Sprinkle Everything Bagel seasoning over the eggs. I like to be generous because that mix of sesame, garlic, and onion brings so much flavor to a simple snack.
Why I Love These Eggs
- Protein-packed – Quick, filling, and keeps energy up for kids and adults alike.
- Minimal prep – You can boil a batch at the start of the week and grab them anytime.
- Flavorful twist – Everything Bagel seasoning makes basic eggs exciting.
- Kid-friendly – They love the crunch and the little pop of flavor on each bite.
💡 Pro Tip: If you want, you can let your kids sprinkle their own seasoning—it’s a fun way to get them involved in snack prep!
12. Turkey & Cheese Roll-Ups
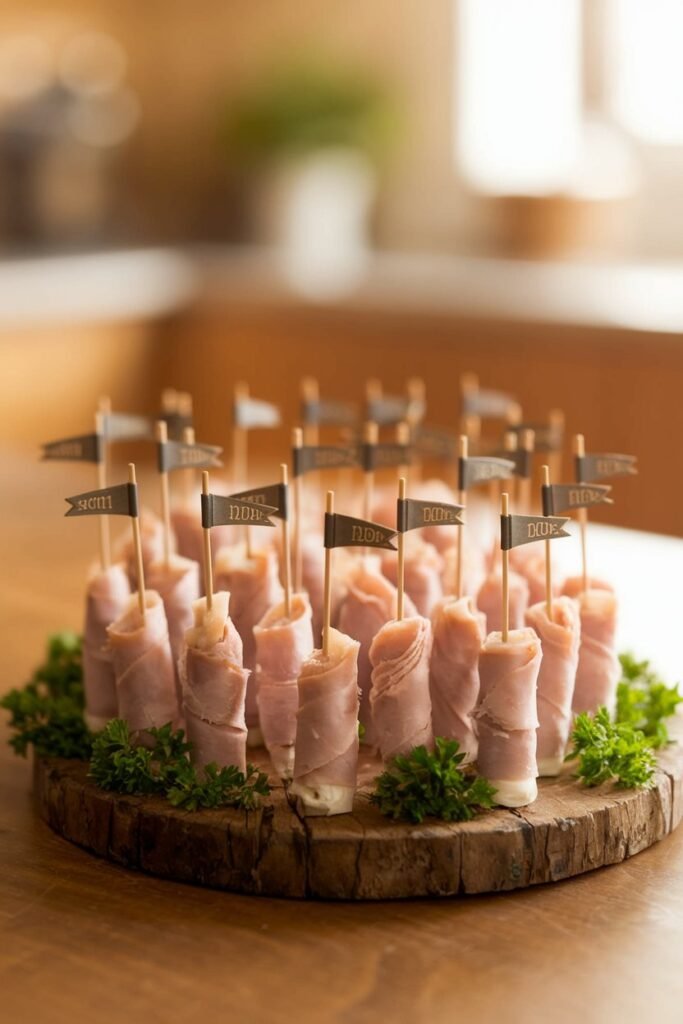
I love these because they’re fast, portable, and always a hit with kids (and adults, honestly!). They’re perfect for lunchboxes, after-school snacks, or a protein boost when you’re in a hurry. You can stick to cheese or switch it up with avocado for a creamy, nutrient-packed twist.
Ingredients
- 6 slices deli turkey
- 3 cheese sticks (or avocado slices)
Instructions
- Lay it out
Place a slice of turkey flat on your prep surface. I like using a cutting board so everything stays neat. - Add the filling
Place a cheese stick or a slice of avocado at one end of the turkey. This is where you can get creative—mix and match flavors your kids love. - Roll it up
Roll the turkey tightly around the filling. If it feels like it might unravel, secure it with a toothpick. These little guys are perfect for snack time or lunchboxes.
Why I Love These Roll-Ups
- Super quick – Ready in under 5 minutes.
- Protein-packed – Keeps kids full between meals.
- Customizable – Swap cheese for avocado, hummus, or even a thin veggie strip.
- Kid-friendly – Easy for little hands to grab and enjoy.
💡 Pro Tip: Slice them into bite-sized pieces for younger kids, or keep them whole for an easy grab-and-go snack for older kids and adults.
13. Chickpea Cookie Dough
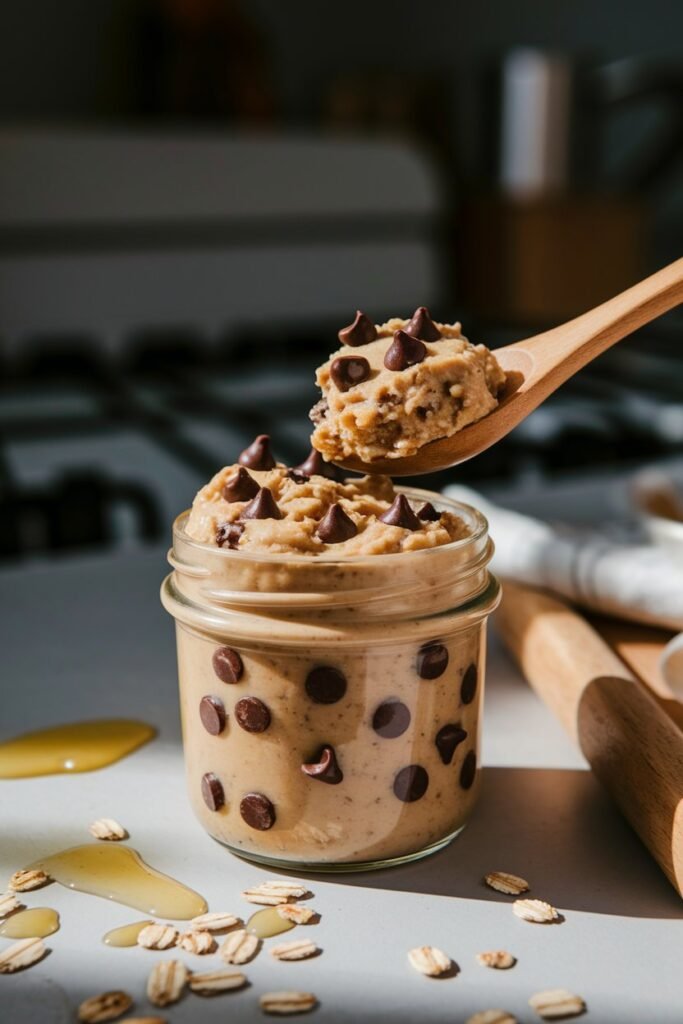
Ingredients:
- 1 can (15 oz) chickpeas (rinsed, drained, skins removed)
- ¼ cup peanut butter
- 3 tbsp honey
- 1 tsp vanilla extract
- ¼ cup rolled oats
- ¼ cup mini chocolate chips
Instructions:
- Blend chickpeas, peanut butter, honey, and vanilla in a food processor until smooth.
- Stir in oats and chocolate chips.
- Roll into balls or serve as a dip with apple slices.
Tip: Refrigerate for 30 minutes before serving for firmer texture.
14. Mini Meatballs
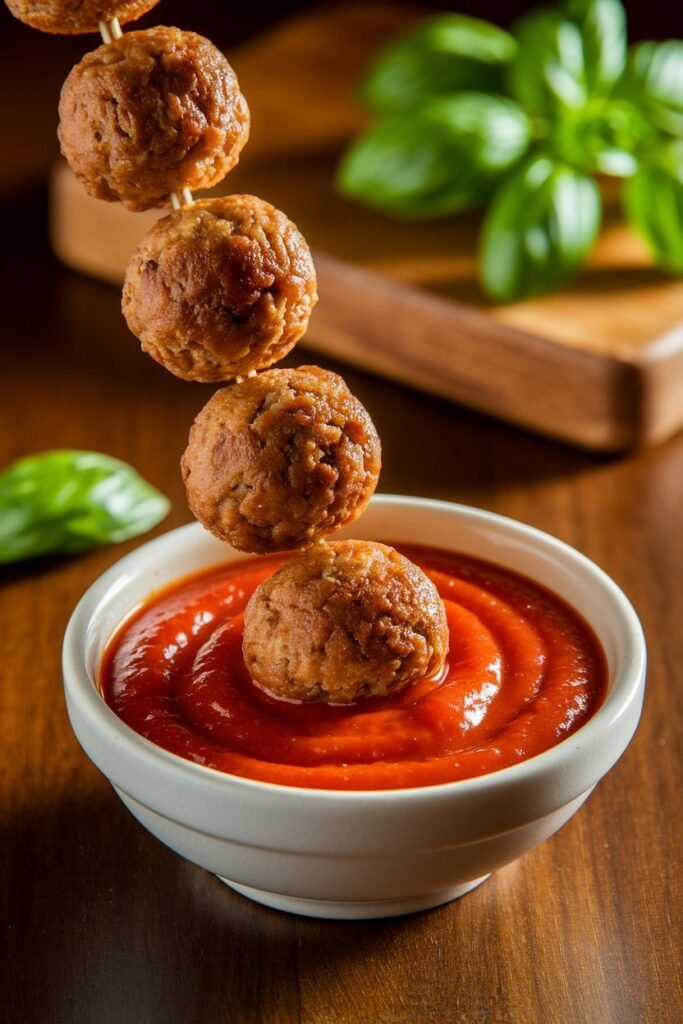
Ingredients:
- 1 lb ground turkey or chicken
- ½ cup breadcrumbs (or almond flour)
- 1 egg
- ¼ cup grated Parmesan cheese
- 1 tsp garlic powder
- ½ tsp dried oregano
- ½ tsp salt
- ¼ tsp black pepper
- ½ cup marinara sauce (for dipping)
Instructions:
- Preheat oven to 375°F (190°C).
- In a bowl, mix ground meat, breadcrumbs, egg, Parmesan, garlic powder, oregano, salt, and pepper.
- Roll into 1-inch meatballs and place on a greased baking sheet.
- Bake for 18–20 minutes until cooked through. Serve warm with marinara.
Tip: Freeze uncooked meatballs on a baking sheet, then transfer to a zip-top bag for up to 3 months.
15. Energy Bites
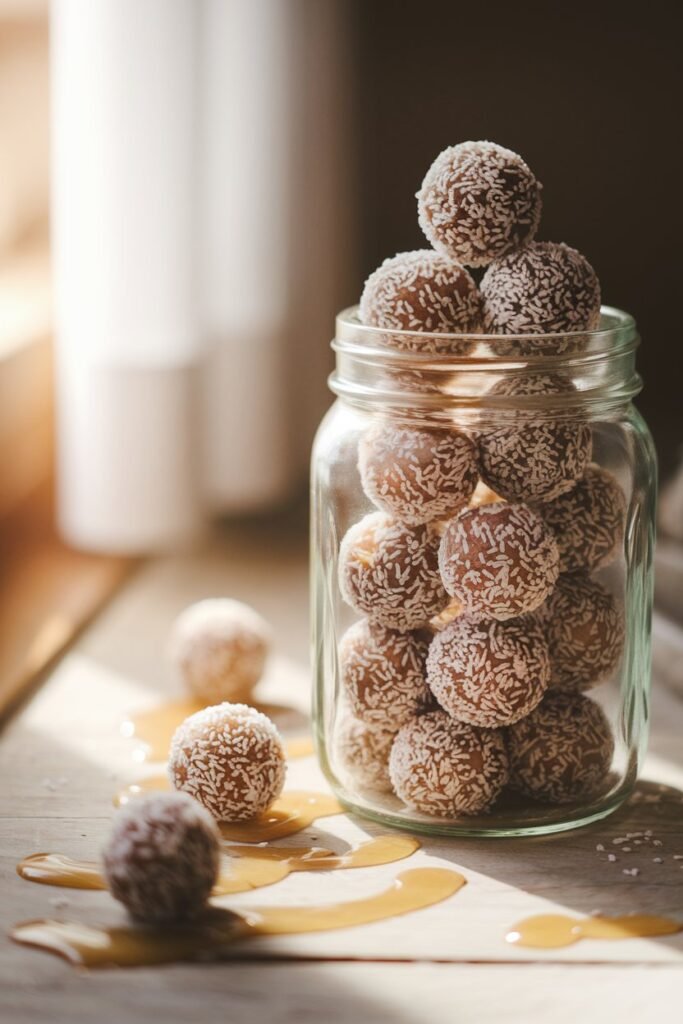
I love making these for when you need a quick snack that’s both healthy and satisfying. They’re perfect for tossing in lunchboxes, taking to sports practice, or keeping at your desk for a mid-afternoon boost. The best part? You only need a few ingredients, and you don’t even have to turn on the oven.
Ingredients
- 1 cup rolled oats
- ½ cup peanut butter (or sunflower seed butter)
- ⅓ cup honey
- ¼ cup mini chocolate chips
- 2 tbsp chia seeds
- 1 tsp vanilla extract
Instructions
- Mix it up
In a medium bowl, stir together the oats, peanut butter, honey, chocolate chips, chia seeds, and vanilla until everything is evenly combined. I like to use a spoon first and then my hands to make sure it all sticks together nicely. - Form the bites
Scoop about 1 tablespoon of mixture at a time and roll into small 1-inch balls. Place them on a parchment-lined tray so they don’t stick. - Chill and set
Pop the tray in the fridge for about 30 minutes to firm up. This makes them easier to grab and eat, and keeps their shape.
Why I Love These Bites
- No baking required – Quick, easy, and mess-free.
- Protein and fiber-packed – Keeps you full and energized.
- Customizable – Swap chocolate chips for raisins, nuts, or shredded coconut.
- Perfect portion control – Just the right size for kids or adults.
💡 Pro Tip: Make a double batch and store in an airtight container for up to a week. They also freeze beautifully if you want to prep snacks ahead of time.
16. Whole-Grain Mini Muffins
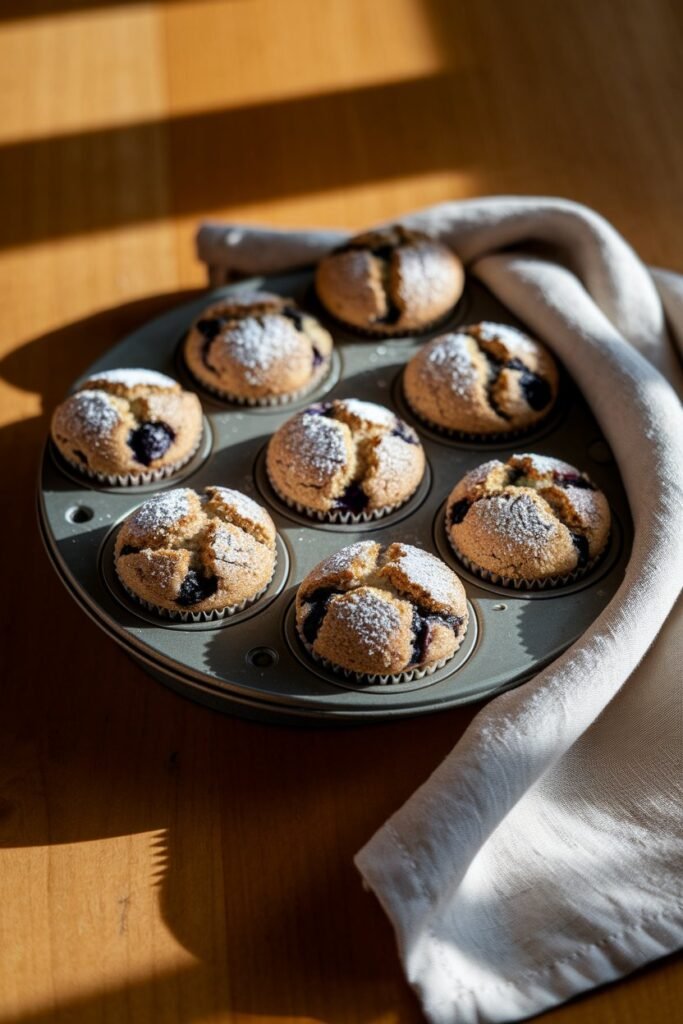
Ingredients:
- 1 cup whole-wheat flour
- 1 tsp baking powder
- ½ tsp cinnamon
- ¼ tsp salt
- 1 mashed banana
- ¼ cup honey
- ¼ cup milk (dairy or plant-based)
- 1 egg
- ½ cup blueberries or grated carrots
Instructions:
- Preheat oven to 350°F (175°C). Grease a mini muffin tin.
- In a bowl, whisk flour, baking powder, cinnamon, and salt.
- In another bowl, mix banana, honey, milk, and egg. Combine wet and dry ingredients. Fold in blueberries or carrots.
- Pour batter into muffin cups (¾ full). Bake for 12–15 minutes.
17. Popcorn Trail Mix
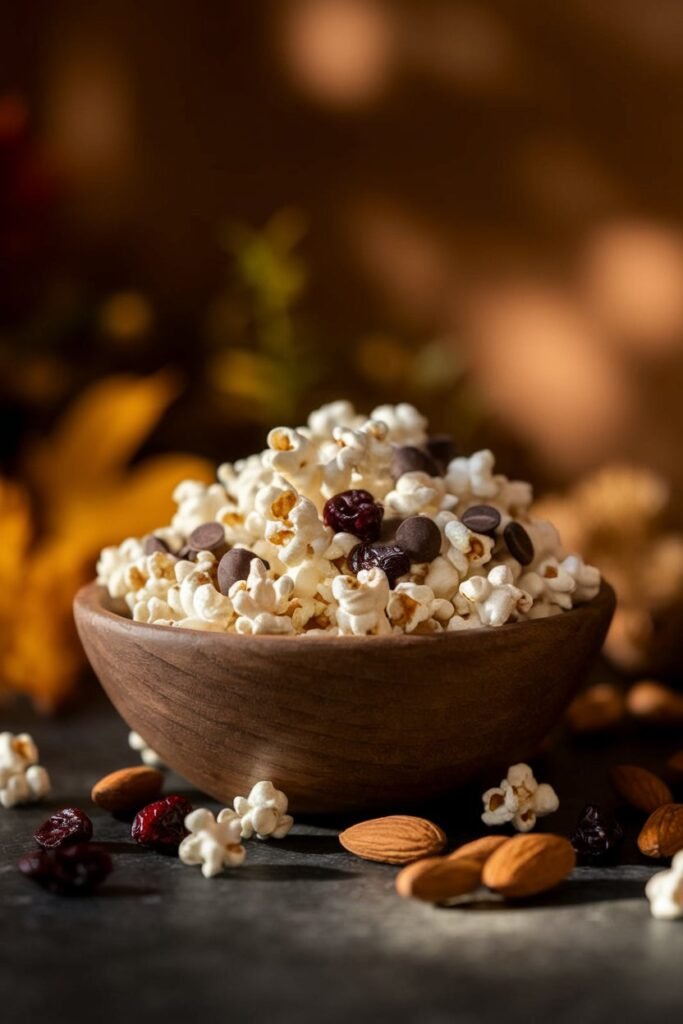
I love this snack because it’s sweet, salty, and crunchy all at once—and it’s a total lifesaver when you’re craving something tasty without reaching for chips or candy. Plus, it’s super flexible—you can swap ingredients based on what you have in your pantry.
Ingredients
- 4 cups air-popped popcorn
- ¼ cup dark chocolate chips
- ¼ cup raisins
- ¼ cup roasted almonds (or sunflower seeds)
- 1 tbsp melted coconut oil
- ½ tsp sea salt
Instructions
- Prep the popcorn
Toss the air-popped popcorn in a large bowl with melted coconut oil and sea salt. This lightly coats every piece, giving it a subtle flavor boost and helping the mix-ins stick. - Add mix-ins
Sprinkle in the chocolate chips, raisins, and almonds. Stir gently so everything is evenly distributed without crushing the popcorn. - Store and enjoy
Keep your trail mix popcorn in an airtight container for up to 3 days. It’s perfect for after-school snacks, movie nights, or a quick pick-me-up during the day.
Why I Love It
- Sweet and salty perfection – The chocolate and salt hit all the right notes.
- Kid-friendly and adult-approved – Everyone loves a crunchy snack like this.
- Customizable – Swap raisins for dried cranberries, almonds for peanuts, or add a sprinkle of cinnamon for extra flavor.
- Quick and no baking – You can whip this up in less than 5 minutes.
💡 Pro Tip: I sometimes drizzle an extra teaspoon of melted chocolate on top while it’s warm for a little extra indulgence without overdoing it.
18. Cheese & Whole-Grain Crackers
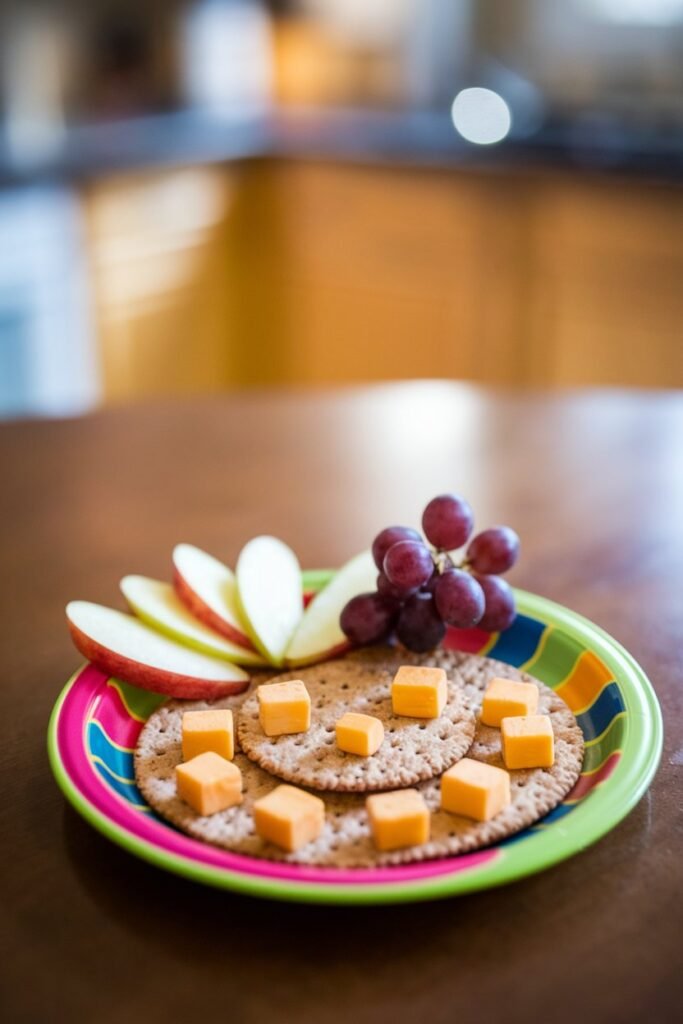
I love this snack because it’s simple, colorful, and keeps little hands busy without any mess. Plus, the combo of crunchy crackers, creamy cheese, and sweet-tart apples hits all the right flavors for kids—and adults too!
Ingredients
- 1 cup whole-grain crackers
- ½ cup cubed cheddar cheese
- ½ cup apple slices (tossed in a little lemon juice to prevent browning)
Instructions
- Prep the apples
Slice the apples and toss them in a tiny bit of lemon juice. This keeps them looking fresh and prevents them from turning brown while you assemble the snack. - Assemble the plate
Arrange the crackers, cubed cheese, and apple slices on a plate or in a bento box. I like to make little clusters of each so it looks fun and colorful. - Add a playful twist
Use cookie cutters to shape the cheese into stars, hearts, or any fun shape. Kids love it when their snack feels special!
Why I Love It
- Balanced and wholesome – Crunch from crackers, protein and fat from cheese, fiber and natural sweetness from apples.
- Quick and fuss-free – Perfect for school snacks, after-school bites, or quick lunchbox fillers.
- Customizable – Swap cheddar for mozzarella, apples for pears, or crackers for whole-grain pretzels.
💡 Pro Tip: Pack a small container of nut butter on the side for dipping crackers or apple slices for an extra protein boost.
19. Oatmeal Banana Cookies
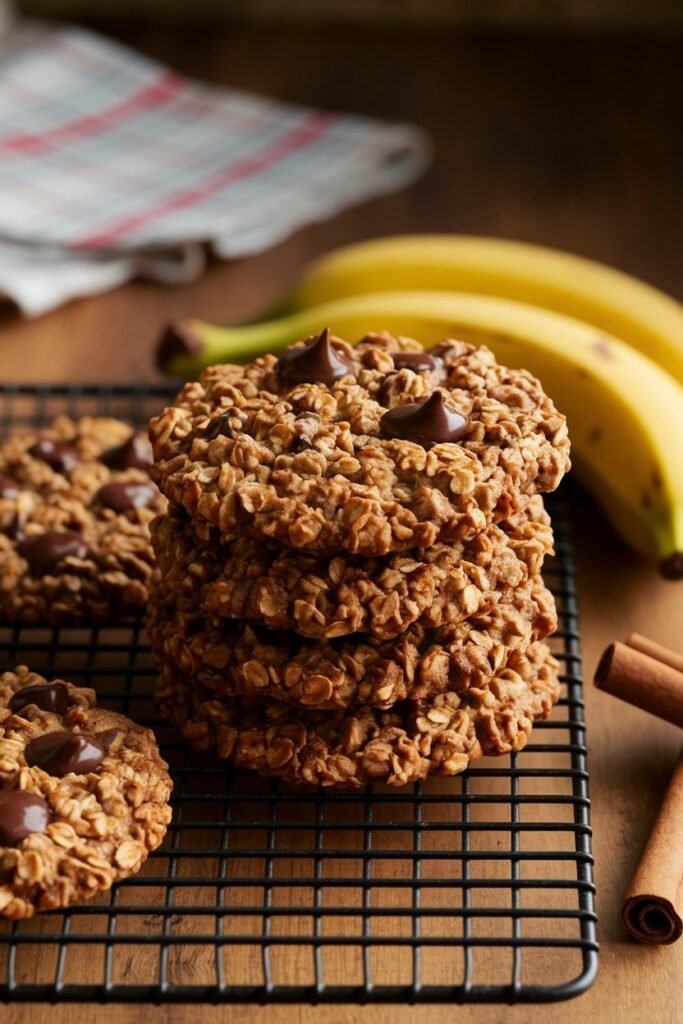
I love making these for my little ones because they’re naturally sweet, chewy, and packed with fiber—plus, they’re so easy to whip up. You can even let your kids help mash the bananas, which makes it a fun little kitchen activity.
Ingredients
- 2 ripe bananas
- 1½ cups rolled oats
- ¼ cup peanut butter
- 1 tsp cinnamon
- ¼ cup raisins (optional)
Instructions
- Preheat the oven
Set your oven to 350°F (175°C) so it’s ready when your cookies are shaped. - Mix the dough
Mash the bananas in a large bowl until smooth. Stir in oats, peanut butter, cinnamon, and raisins (if using) until everything is combined. - Shape the cookies
Scoop tablespoon-sized portions of the mixture onto a parchment-lined baking sheet. I like to gently flatten them with the back of the spoon so they bake evenly. - Bake to perfection
Bake for 12–15 minutes until the edges are lightly golden and the centers are set.
Why I Love These Cookies
- Wholesome and filling – The oats give fiber, bananas add natural sweetness, and peanut butter packs protein.
- Kid-friendly and safe – No refined sugar needed, making these a guilt-free treat.
- Flexible and fun – Swap raisins for chocolate chips or add a handful of chopped nuts if your little one can have them.
💡 Pro Tip: Store cooled cookies in an airtight container for up to 4 days, or freeze extras for busy mornings.
20. Quinoa Cups
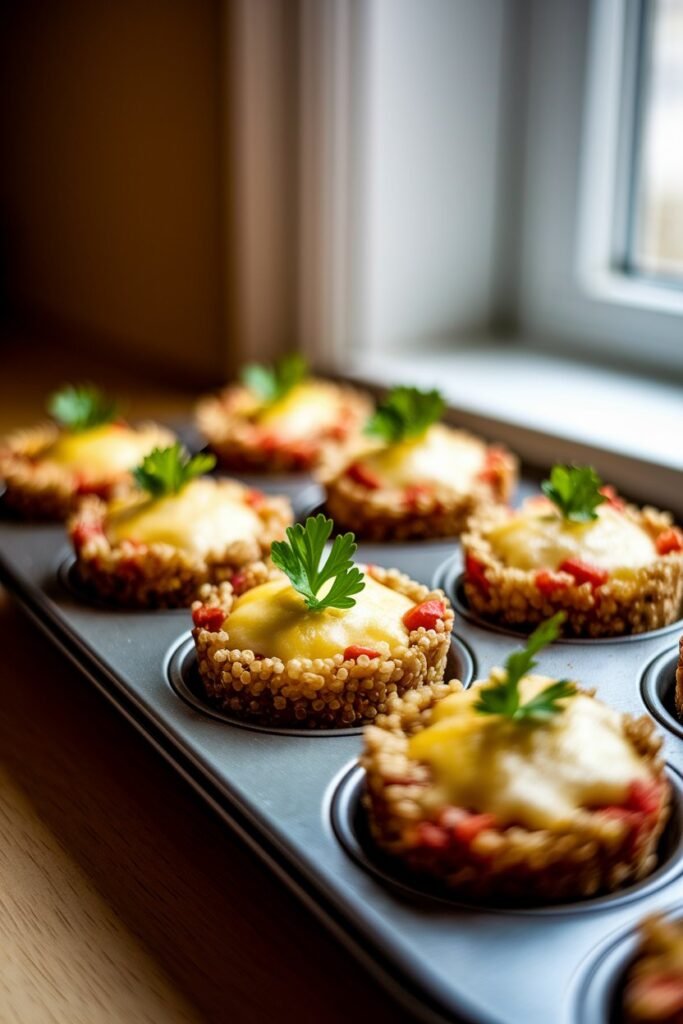
Ingredients:
- 1 cup cooked quinoa
- 2 eggs
- ½ cup shredded cheese (cheddar or mozzarella)
- ¼ cup diced bell peppers
- ¼ cup diced spinach
- ¼ tsp garlic powder
Instructions:
- Preheat oven to 375°F (190°C). Grease a muffin tin.
- Mix all ingredients in a bowl.
- Spoon mixture into muffin cups (¾ full). Bake for 20–25 minutes until set.
21. Chocolate Avocado Pudding
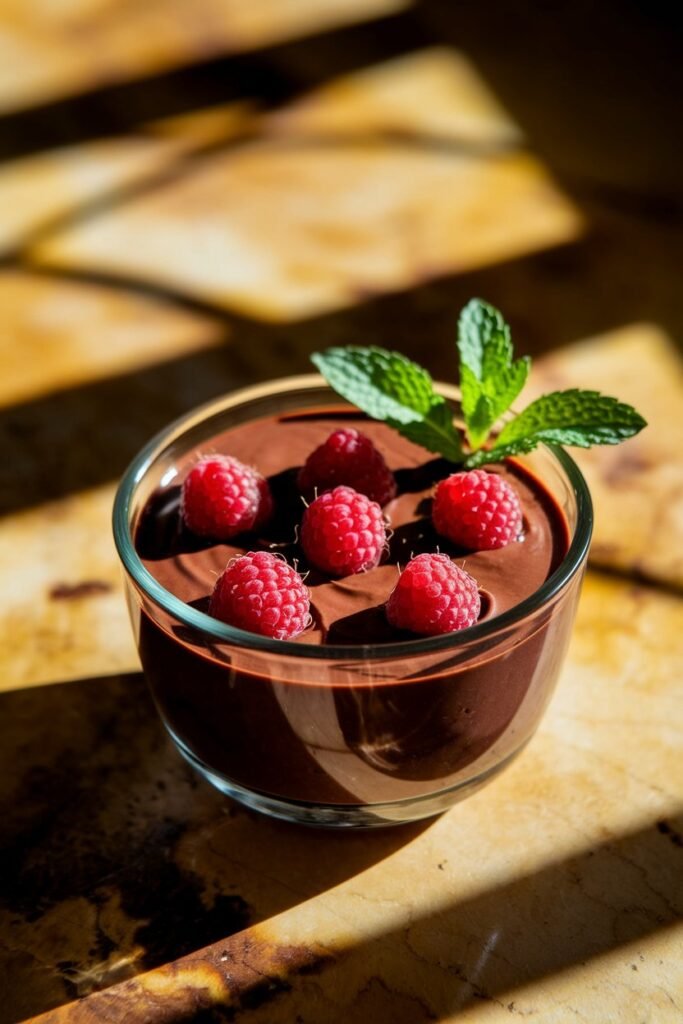
I can’t get over how creamy and rich this pudding feels—yet it’s secretly packed with healthy fats from avocado! If your kid is hesitant about avocado, this is the perfect way to sneak it in because the chocolate masks the flavor completely. I make a batch whenever I need a quick, wholesome dessert or a snack that feels indulgent but isn’t full of sugar.
Ingredients
- 2 ripe avocados
- ¼ cup unsweetened cocoa powder
- ¼ cup honey or maple syrup
- ¼ cup milk (dairy or plant-based)
- 1 tsp vanilla extract
- Pinch of salt
Instructions
- Prep the avocado
Slice the avocados, remove the pits, and scoop the flesh into a blender or food processor. - Blend the pudding
Add cocoa powder, honey or maple syrup, milk, vanilla, and a pinch of salt. Blend until completely smooth and creamy. I like to taste at this point and adjust the sweetness if needed. - Chill for best texture
Transfer the pudding into small cups or bowls. Chill in the fridge for at least 30 minutes to let it firm up—it makes it taste even more decadent. - Serve and enjoy
Spoon it into bowls and, if you like, sprinkle a few mini chocolate chips or fresh berries on top. Watching your kids dig in and realize they’re eating avocado is priceless!
Why I Love This Snack
- Hidden nutrition – Avocado provides healthy fats and creaminess without added sugar.
- Quick and fuss-free – Just five ingredients and a blender, and you’re done.
- Kid-approved – Chocolate covers the avocado flavor, so even picky eaters usually love it.
- Flexible – Add a scoop of peanut butter, a splash of milk for thinner pudding, or even a pinch of cinnamon for a fun twist.
💡 Pro Tip: Store leftovers in an airtight container in the fridge for up to 3 days. You can also freeze in popsicle molds for a cool summer treat!
22. Date “Snickers”
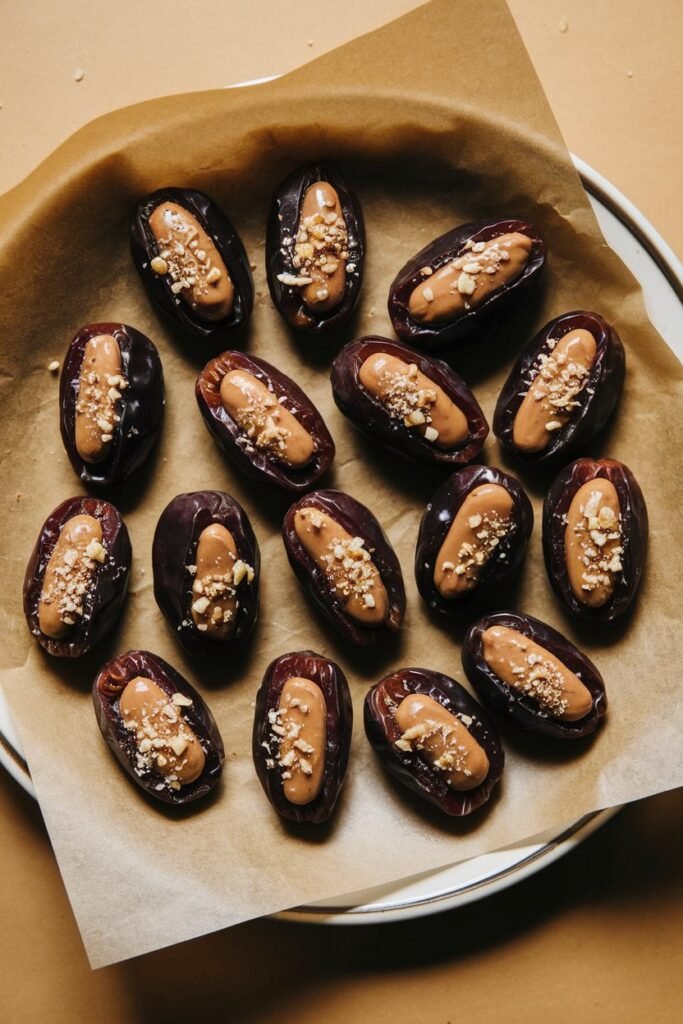
I love these little bites because they’re sweet, salty, and packed with energy—all in one tiny package. They’re perfect for when you need a quick snack for yourself, or as a fun treat for the kids. Honestly, the first time I made them, I couldn’t stop at just one!
Ingredients
- 12 Medjool dates (pitted)
- ¼ cup peanut butter
- ¼ cup melted dark chocolate
- ¼ cup crushed peanuts
Instructions
- Prep the dates
Slice each date lengthwise and remove the pit if it isn’t already pitted. - Stuff with peanut butter
Use about 1 teaspoon of peanut butter per date and fill the center. I like to press gently so it stays snug inside. - Dip in chocolate
Melt your dark chocolate and dip each stuffed date halfway in the chocolate. - Add a crunchy topping
Immediately roll the chocolate-coated side in crushed peanuts. This adds an extra layer of texture and flavor. - Chill to set
Place the finished dates on a tray and freeze for about 15 minutes, or until the chocolate is firm.
Why I Love This Snack
- Sweet, salty, and satisfying – Combines natural sweetness from dates with the richness of chocolate and peanut butter.
- Quick to assemble – Just a few minutes and you have a snack that feels fancy but is super simple.
- Kid-friendly and adult-approved – Everyone reaches for seconds!
- Flexible – Swap peanut butter for almond or sunflower butter, or use crushed pistachios instead of peanuts for a fun twist.
💡 Pro Tip: Store these in an airtight container in the fridge for up to a week. If you want them softer, leave them at room temperature for a few minutes before serving.
23. Frozen Yogurt Drops
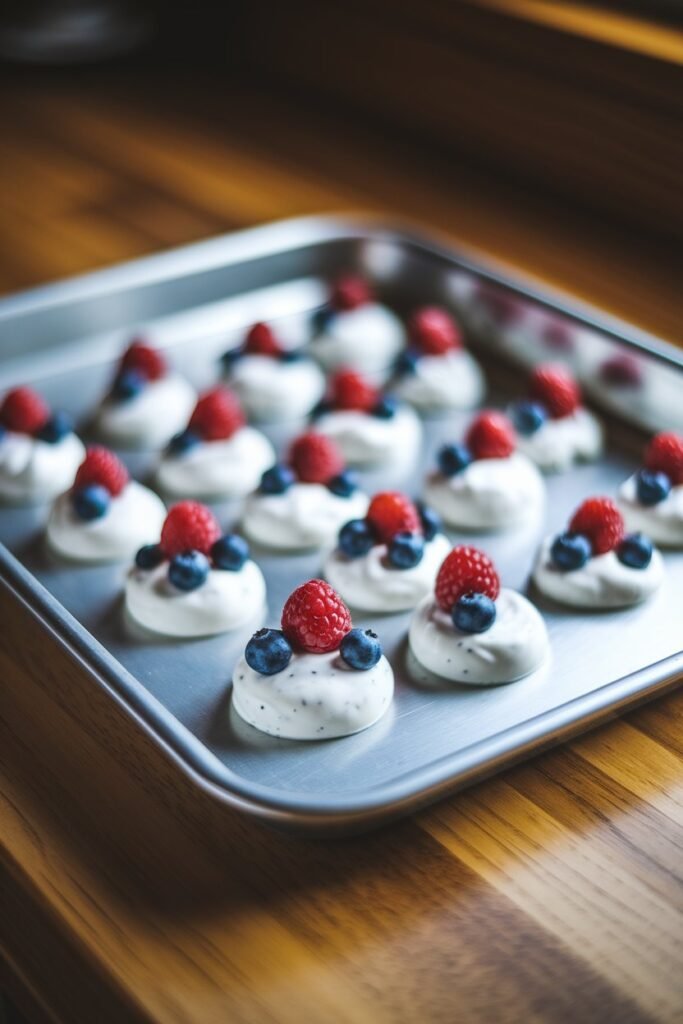
I love making these because they’re sweet, creamy, and so easy—you don’t even need an oven. These little bites are perfect for a hot afternoon, a lunchbox treat, or just a quick snack that you feel good about giving your kids. Honestly, the first time I made them, I found myself sneaking a few before they even made it to the freezer!
Ingredients
- 1 cup Greek yogurt (plain or vanilla)
- ½ cup mixed berries (blueberries, raspberries, or sliced strawberries)
Instructions
- Prep your tray
Line a baking sheet with parchment paper. This keeps the bites from sticking and makes cleanup a breeze. - Spoon and top
Drop spoonfuls of yogurt onto the parchment. I like to make them about 1-inch rounds so they’re the perfect little bite. Press a berry gently into the center of each one. - Freeze
Place the tray in the freezer and let the bites set for at least 2 hours, until completely firm. - Store and serve
Pop the frozen bites off the parchment and store them in a zip-top bag or airtight container. They last for weeks, making it super easy to grab a healthy snack whenever you need it.
Why I Love These
- Kid-friendly and fun – Small, colorful, and easy to handle.
- Healthy and simple – Packed with protein and natural sweetness, without added junk.
- No-bake and no fuss – Literally a few minutes of prep and you’re done.
- Flexible – Swap in your favorite fruit or even sprinkle a few mini chocolate chips on top for a fun twist.
💡 Pro Tip: Let your kids help drop the yogurt and press the berries in—it turns snack prep into a fun activity they’ll enjoy.
24. Apple Chips
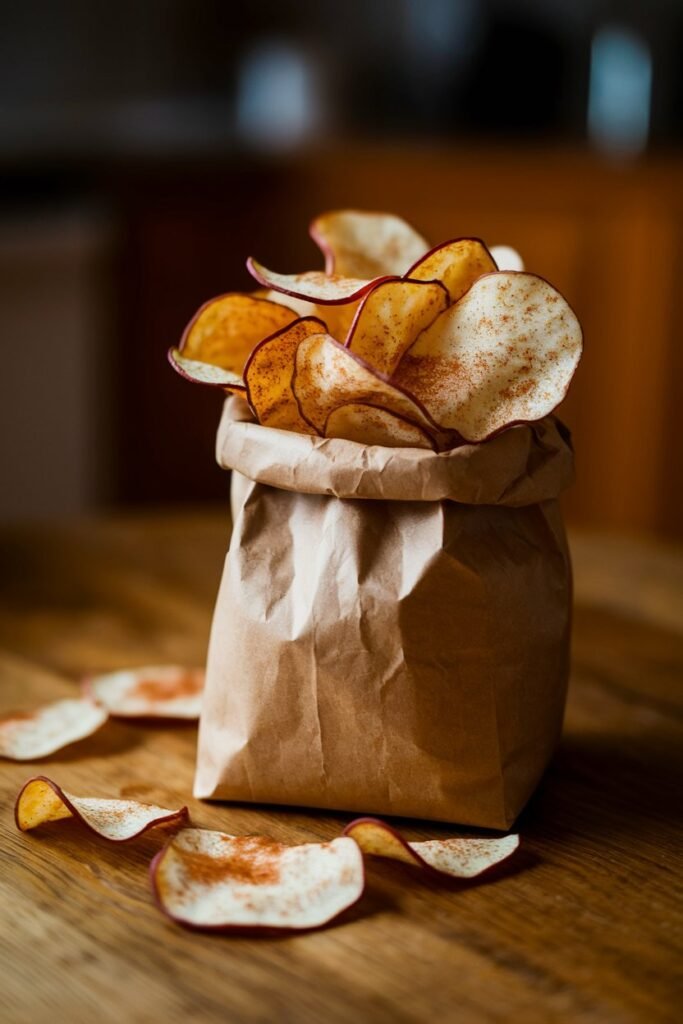
I’ll be honest—I can’t get enough of these. They’re sweet, crunchy, and just the right amount of cozy cinnamon flavor. The best part? They’re super simple to make and perfect for when you want a snack that feels indulgent without any guilt. I usually make a batch while the oven’s on for dinner prep, and by the time I’m done, the whole house smells amazing.
Ingredients
- 2 apples (thinly sliced)
- 1 tsp cinnamon
Instructions
- Preheat your oven
Set your oven to 200°F (95°C). Low and slow is the key here—it dries the apples without burning them. - Prep the apples
Arrange your apple slices in a single layer on a parchment-lined baking sheet. I like to make sure none of them overlap so every slice gets crispy. - Add cinnamon
Sprinkle cinnamon evenly over the slices. If you’re feeling fancy, you can mix a tiny pinch of nutmeg or ginger for extra warmth. - Bake low and slow
Place in the oven and bake for about 2 hours, flipping halfway through. Keep an eye on them toward the end—they should be golden, slightly curled, and perfectly crisp. - Cool and store
Let the apple chips cool completely before storing in an airtight container. They’ll stay crunchy for a week (if you can keep them around that long!).
Why I Love These
- Naturally sweet and healthy – Just apples and cinnamon, no added sugar needed.
- Kid-friendly snack – Crunchy, fun to eat, and perfect for lunchboxes.
- Easy to customize – Try different apple varieties or add a pinch of spice.
- Make-ahead snack – I like to make a big batch and keep them ready for a quick grab-and-go treat.
💡 Pro Tip: Use a mandoline slicer if you have one—it makes uniform slices that crisp evenly every time.
25. No-Bake Granola Bars
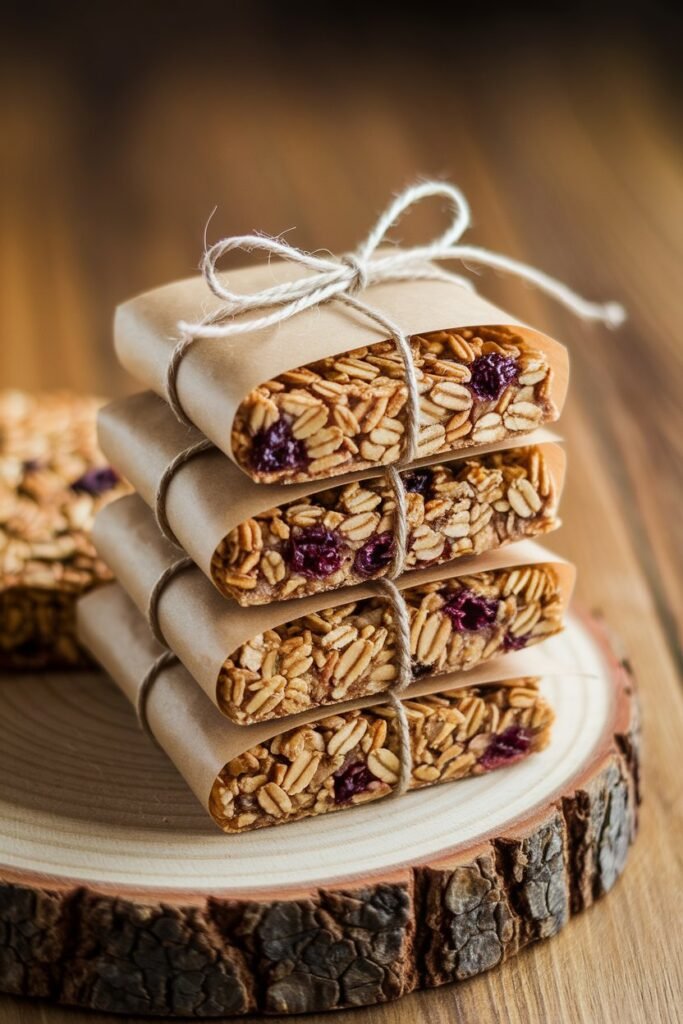
I don’t know about you, but I’m always on the lookout for snacks that I can grab on the go without feeling guilty. These oat and peanut butter bars hit that sweet spot—they’re chewy, nutty, and packed with little bursts of flavor from cranberries and pumpkin seeds. I usually make a batch on Sunday, and by Monday morning, they’re my go-to breakfast or afternoon pick-me-up.
Ingredients
- 1.5 cups rolled oats
- ½ cup peanut butter
- ⅓ cup honey
- ¼ cup dried cranberries
- ¼ cup pumpkin seeds
Instructions
- Prep your pan
Line an 8×8-inch pan with parchment paper. This makes it super easy to lift the bars out later without any mess. - Mix everything together
In a large bowl, combine oats, peanut butter, honey, cranberries, and pumpkin seeds. I like to press the mixture down with the back of a spoon or my hands to make sure it sticks together well. - Press into the pan
Spread the mixture evenly into the prepared pan. Press firmly so the bars hold their shape when cut. - Chill and set
Refrigerate for at least 2 hours. I usually let mine chill longer—it makes them extra firm and easy to slice. - Slice and enjoy
Lift the parchment paper to remove the set mixture from the pan. Slice into bars and keep them stored in the fridge for up to a week.
Why I Love These Bars
- Grab-and-go convenience – Perfect for mornings when you don’t have time to make breakfast.
- Nutrient-packed – Oats for fiber, peanut butter for protein, and seeds and cranberries for crunch and sweetness.
- Customizable – Swap cranberries for raisins, chocolate chips, or chopped nuts—whatever you have on hand.
- Kid-friendly – My little one loves grabbing a bar before heading out, and I feel good knowing it’s wholesome.
💡 Pro Tip: If you want extra chewiness, lightly toast the oats first—they add a toasty flavor that takes these bars up a notch.
26. Yogurt Parfait Cups
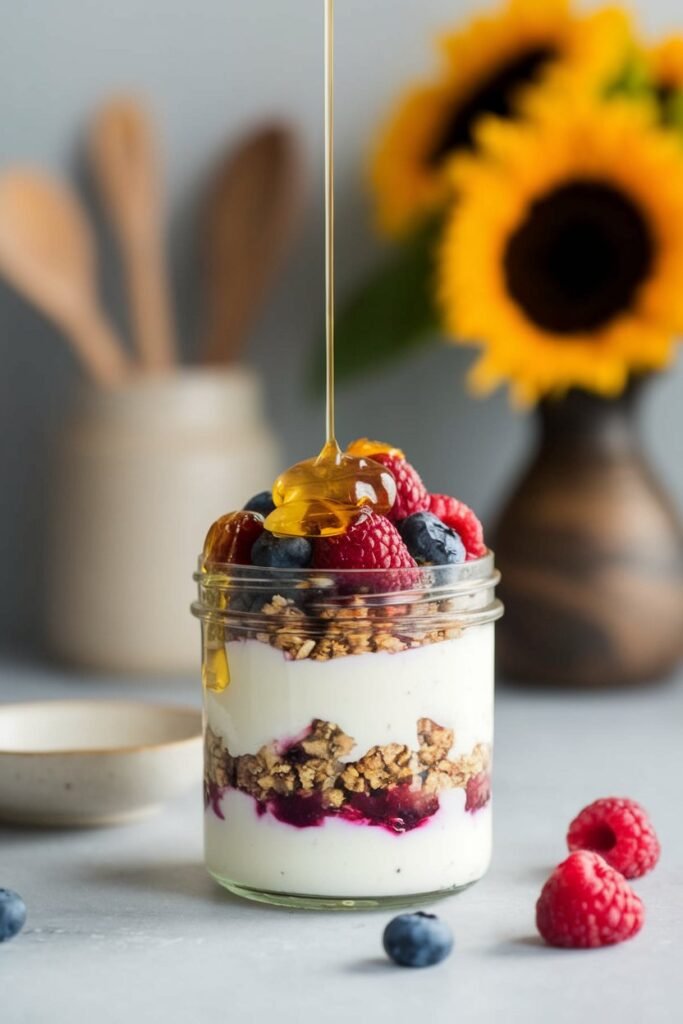
I don’t know about you, but I love snacks that feel a little special without taking forever to make. These yogurt parfait cups are my go-to when I need something fresh, sweet, and wholesome. I usually make a few for the fridge, and they’re perfect for breakfast, after-school snacks, or even a little treat for myself in the afternoon.
Ingredients
- 1 cup Greek yogurt (plain or vanilla)
- ½ cup granola
- ½ cup mixed berries (blueberries, raspberries, or strawberries)
- 1 tbsp honey (optional, for a touch of sweetness)
Instructions
- Prep your cups
Grab small cups, mason jars, or even bowls—whatever you have on hand. I like using clear cups because it looks so pretty layered. - Layer the yogurt
Spoon a layer of Greek yogurt into the bottom of each cup. This is your creamy base and adds protein to keep you full. - Add granola
Sprinkle a layer of granola over the yogurt. I like to leave some extra to sprinkle on top at the end for a little crunch. - Add berries
Top with a mix of fresh berries. I love combining colors—it makes it feel like a treat and packs in antioxidants. - Finish with honey
Drizzle a little honey on top if you want a touch of sweetness. If you’re serving this to kids, I usually let them do this part—they love “designing” their parfaits. - Serve immediately or chill
You can eat these right away or cover and refrigerate for up to a day. The granola will stay a little crunchy if you add it last-minute.
Why I Love These Parfaits
- Quick & easy – Literally 5 minutes to a beautiful snack.
- Balanced & wholesome – Protein from yogurt, fiber from berries, and crunch from granola.
- Kid-approved – My little one practically dances when I hand over one of these cups.
- Customizable – Swap granola for nuts, berries for banana slices, or honey for maple syrup.
💡 Pro Tip: Layering the parfait with alternating colors and textures makes it visually appealing and more fun to eat, especially for kids.
27. Cheese Quesadillas
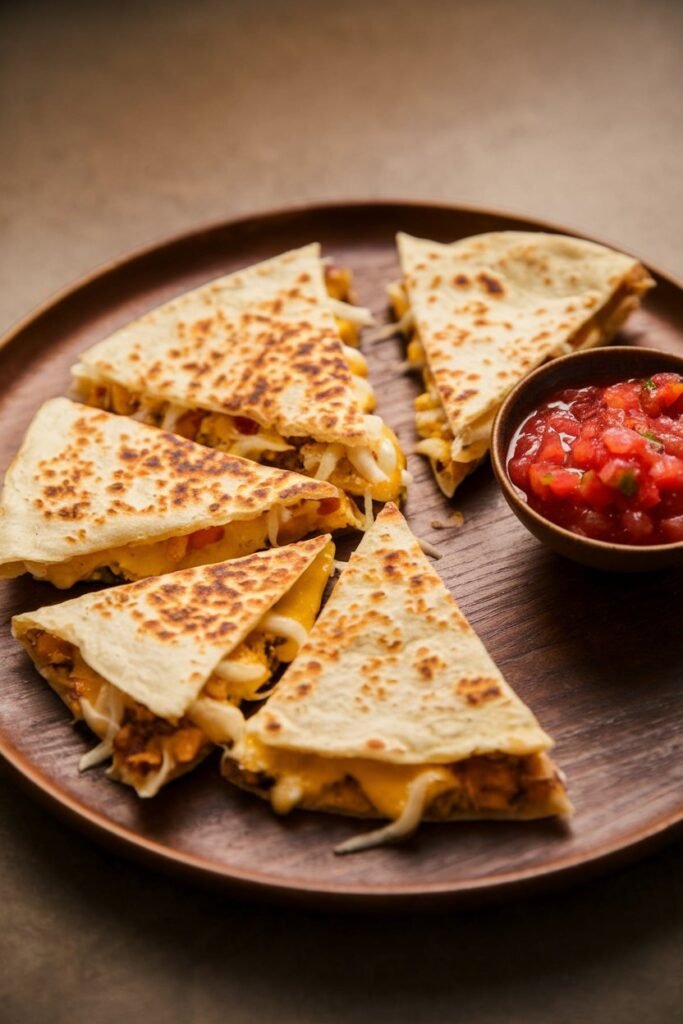
Ingredients:
- 2 whole-wheat tortillas
- ½ cup shredded cheese
- ¼ cup diced spinach or cooked chicken
Instructions:
- Heat a skillet over medium heat.
- Sprinkle cheese and spinach on one tortilla. Top with the second tortilla.
- Cook for 2–3 minutes per side until golden. Slice into wedges.
28. Cottage Cheese Pancakes
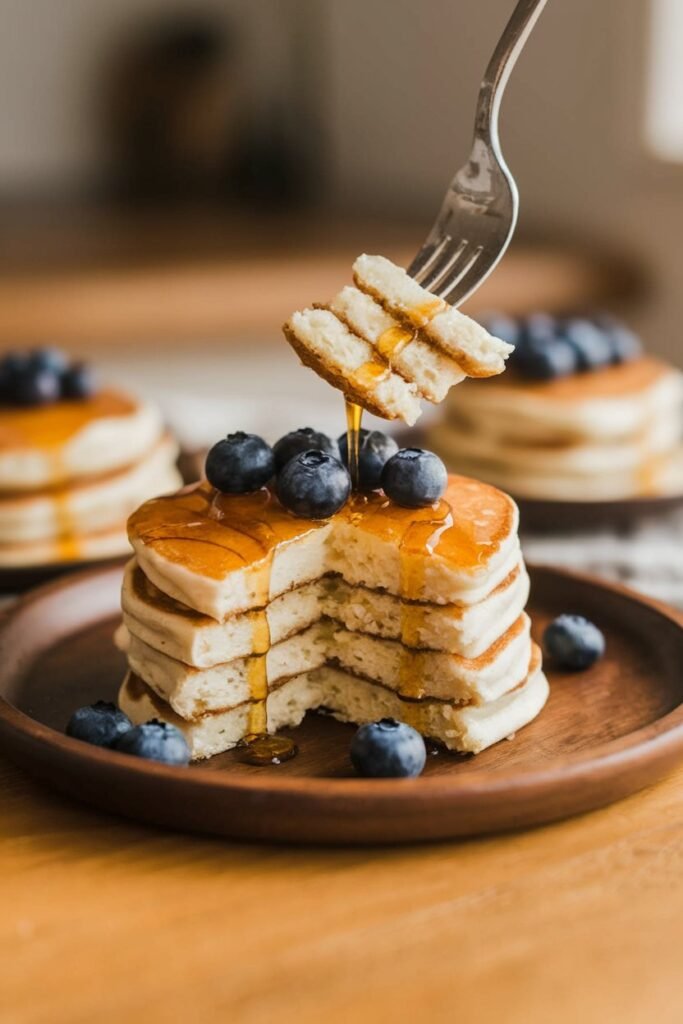
Ingredients:
- 1 cup cottage cheese
- 2 eggs
- ½ cup oats
- 1 tsp vanilla extract
- 1 tbsp maple syrup
Instructions:
- Blend all ingredients in a food processor until smooth.
- Cook ¼ cup portions on a greased skillet over medium heat until golden.
29. Yogurt-Covered Strawberries
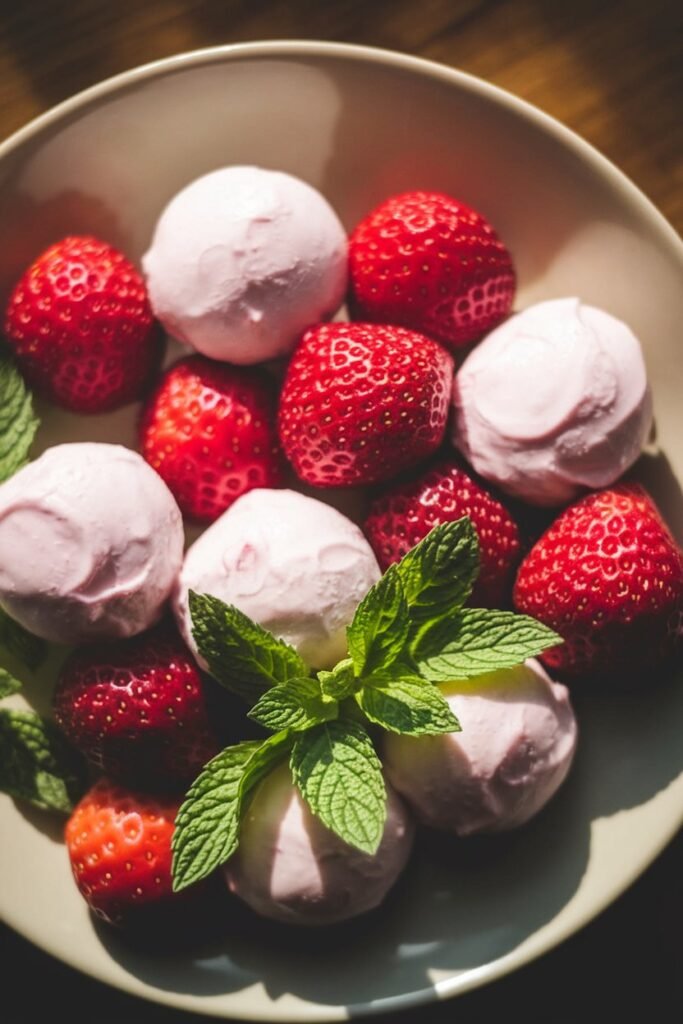
Ingredients:
- 12 strawberries (washed, dried)
- ½ cup Greek yogurt
- 1 tbsp honey
Instructions:
- Mix yogurt and honey. Dip strawberries halfway into the mixture.
- Place on a parchment-lined tray. Freeze for 1 hour.
30. Mini Cheese Boards
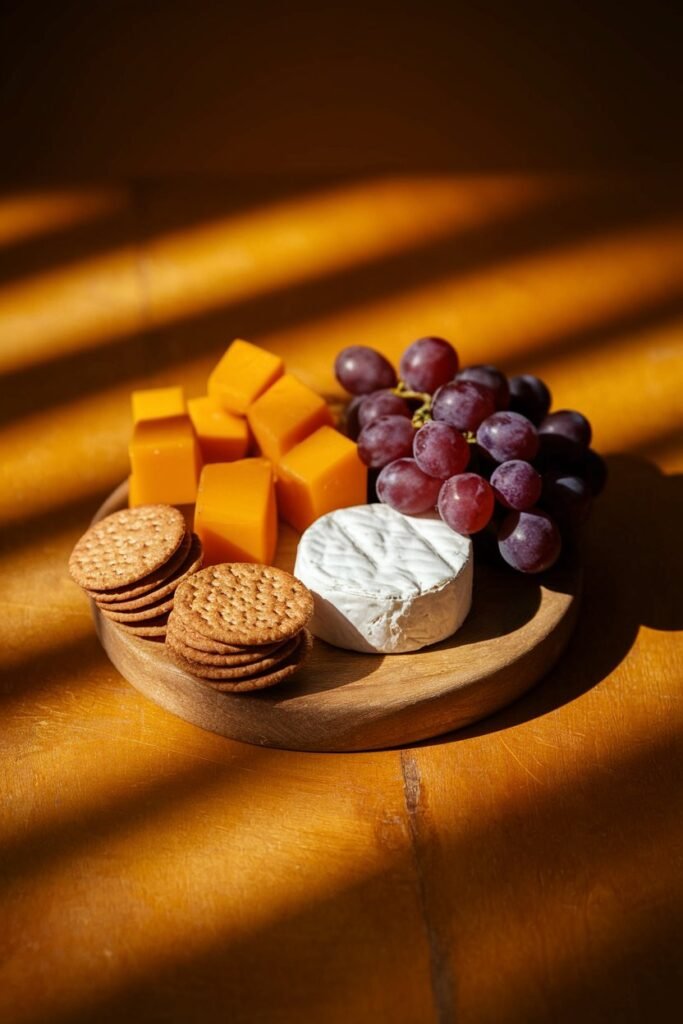
Ingredients:
- ½ cup cubed cheese (cheddar, mozzarella)
- ½ cup whole-grain crackers
- ¼ cup grapes
- 2 tbsp almonds
Instructions:
- Arrange cheese, crackers, grapes, and almonds on a small plate.
31. Spinach Pancakes
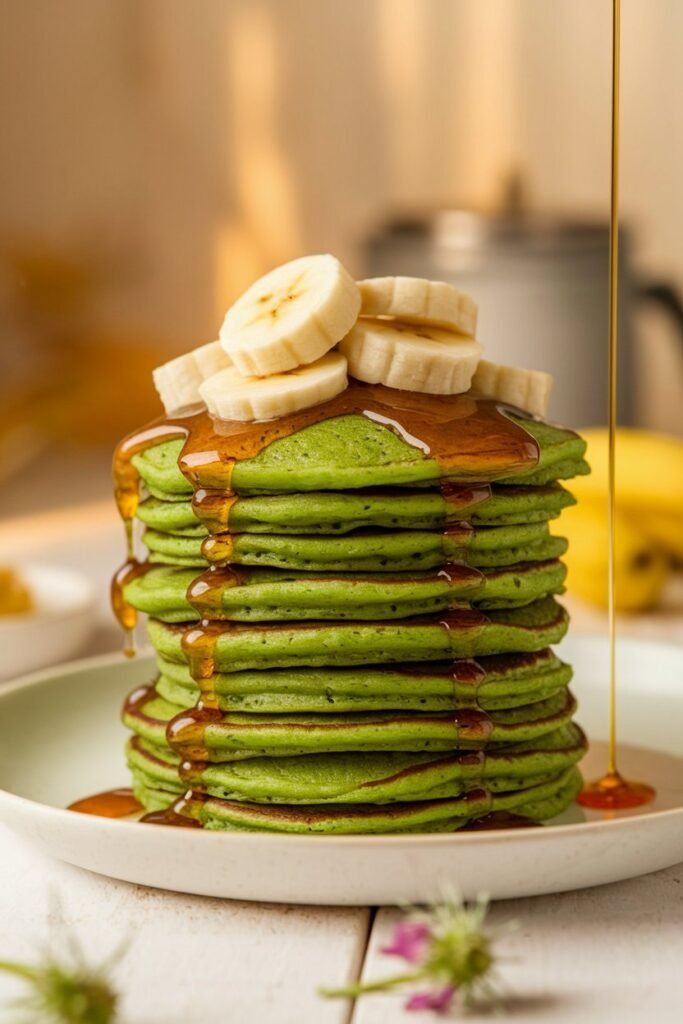
Ingredients:
- 1 cup spinach (blanched, drained)
- 1 cup flour
- 1 cup milk
- 1 egg
- 1 tbsp maple syrup
Instructions:
- Blend spinach, milk, egg, and syrup until smooth.
- Whisk in flour. Cook pancakes on a greased skillet.
- Freeze cooled pancakes in zip-top bags. Reheat in a toaster!
32. Homemade Pizza Pockets
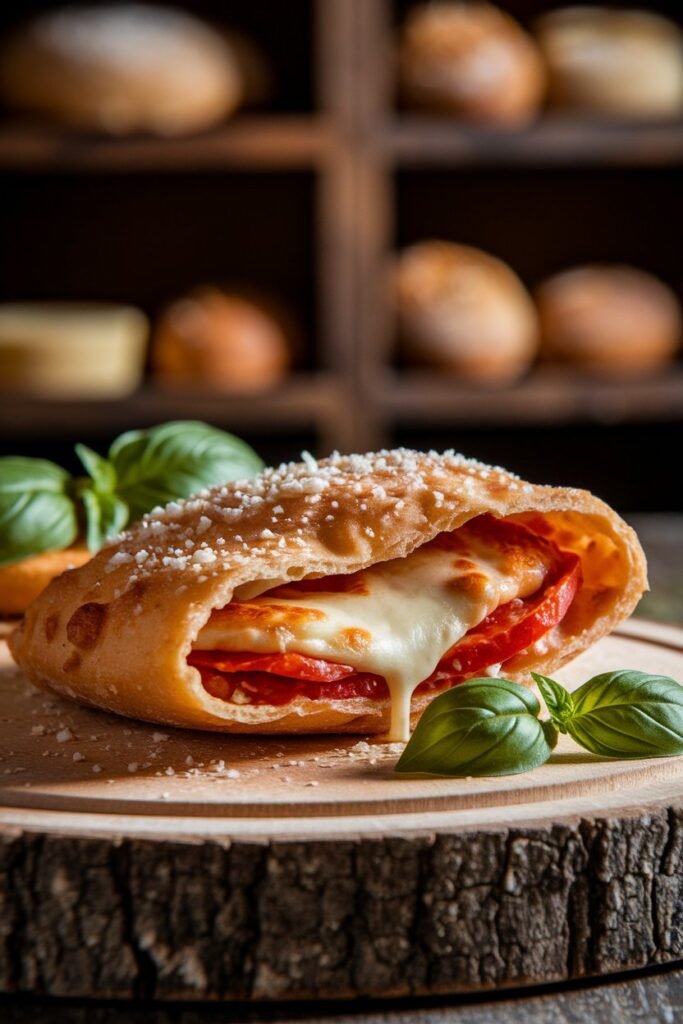
Ingredients:
- 1 lb whole-wheat pizza dough
- ½ cup marinara sauce
- ½ cup shredded cheese
- ¼ cup diced veggies (bell peppers, mushrooms)
Instructions:
- Preheat oven to 400°F (200°C).
- Roll dough into 6-inch circles. Spoon sauce, cheese, and veggies onto one half. Fold and crimp edges.
- Bake for 15–18 minutes. Freeze unbaked pockets for later!
33. Smoothie Popsicles

Ingredients:
- 1 banana
- 1 cup frozen mango
- ½ cup spinach
- ½ cup Greek yogurt
- ¼ cup orange juice
Instructions:
- Blend all ingredients until smooth.
- Pour into popsicle molds. Freeze for 4+ hours.
Flavor Boost and Fun Variations
One of my favorite things about these snacks is how easy it is to make them your own.
I love adding little twists to keep snack time exciting, and I know you will too.
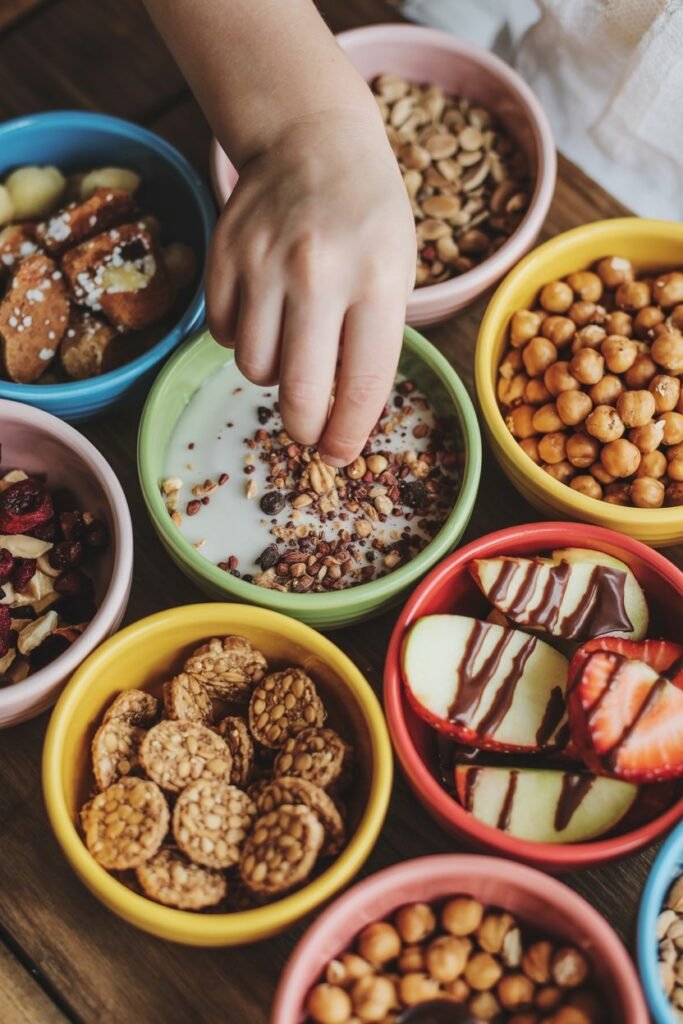
- A sprinkle of cinnamon or nutmeg can turn simple granola bites or roasted chickpeas into a cozy, warm treat. I do this when I want a snack that feels a little special.
- Chocolate drizzle or mini chocolate chips make almost any snack feel like dessert without going overboard. I often let the kids sprinkle a few on top—they love feeling like they helped.
- A tiny pinch of sea salt adds a sweet-and-salty twist, especially on fruit slices or baked snacks. I love that it surprises the taste buds in a good way.
- Add fresh herbs or citrus zest to veggie snacks or energy balls for a bright, fresh flavor. I sometimes throw in a little orange zest—it smells amazing and makes the snack feel fancy.
- Mix in dried fruit or nuts for extra texture and nutrition. I like letting the kids pick their favorites so they feel invested in snack time.
The beauty of these healthy snacks is that you can experiment without stress.
A small tweak can make a snack feel brand new, and it keeps your kids curious and excited about what’s coming from the kitchen.
Final Tips for Parents
I know snack time can feel like a never-ending job, so here are a few things I do that make life easier for both me and my kids.
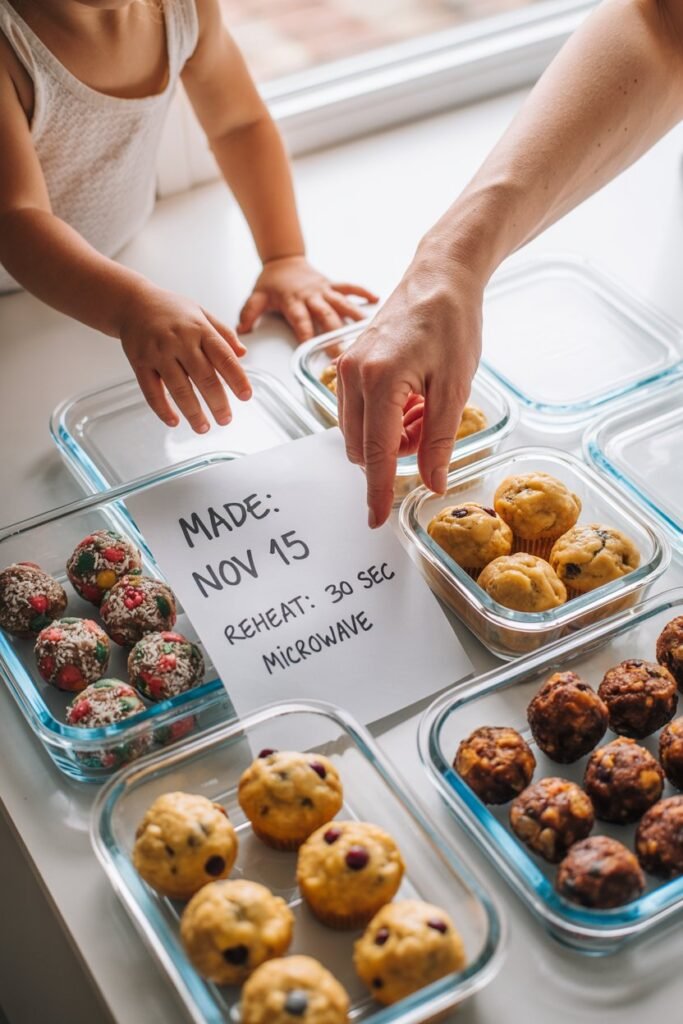
- Batch prep whenever you can. I usually spend an hour or two on the weekend making snacks like energy bites, mini muffins, or little meatballs. It saves so much time during the week, and I always feel ready for those hungry moments.
- Involve your kids. I let my little ones help mix, roll, or decorate snacks. Not only is it fun, but they are also way more likely to eat something they helped make. You will love seeing their pride when they taste their creation.
- Label and organize. I always put snacks in freezer or fridge bags with the date and reheating instructions. It keeps everything easy to find and helps me avoid last-minute scrambling.
These simple tips have saved me so many headaches, and I know they will help you too. Snack time can be easy, fun, and stress-free with just a little planning.