Crispy onions are one of those little things that just make everything better. Honestly, I don’t know about you, but I can’t resist sprinkling them on casseroles, layering them on a burger, or tossing them into a salad for that perfect crunch.
The only problem? The ones you buy are usually deep-fried and drenched in oil—so yes, they’re tasty, but they leave me feeling guilty.
That’s why I love making them in the air fryer. You still get that golden, crunchy goodness we all crave, but without all the extra fat. Plus, they’re super quick to make, and I usually whip up a batch to have on hand all week.
Once you try these, you’ll start finding excuses to add them to every meal—I know I do!
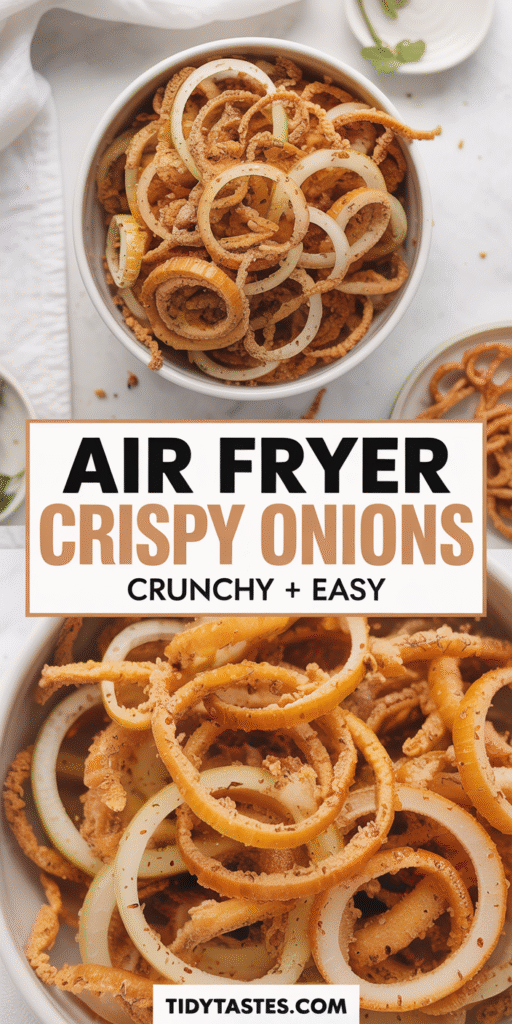
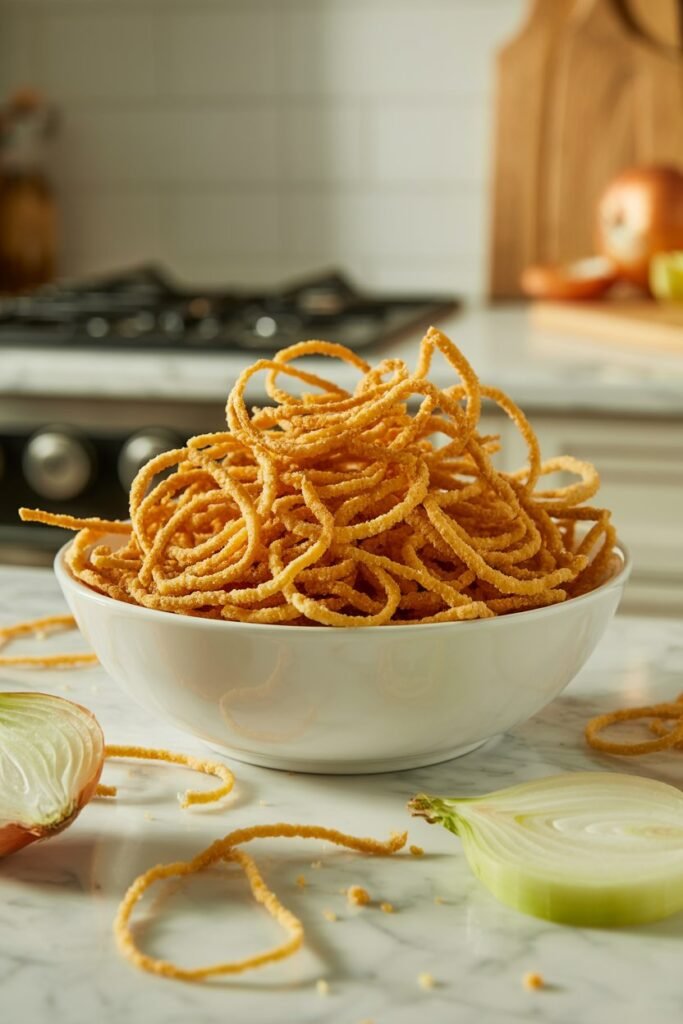
I’m going to show you exactly how I make low-fat, super crunchy onions in the air fryer—and trust me, once you try this, you’ll wonder why you ever settled for soggy or greasy store-bought ones.
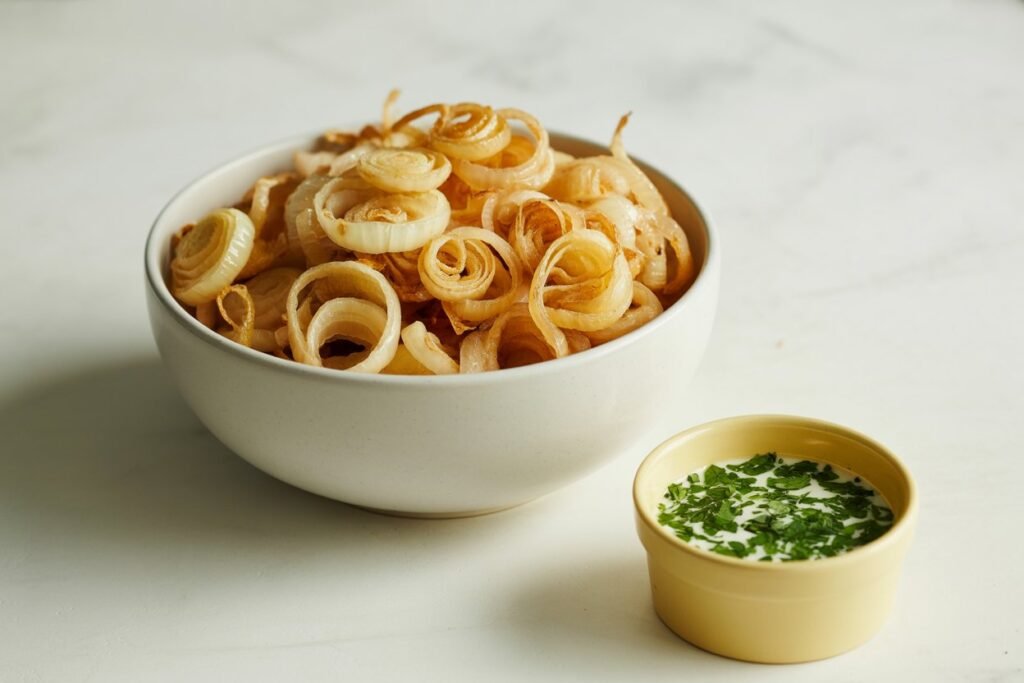
They turn out golden, flavorful, and perfect for sprinkling over everything from soups and curries to burgers and baked potatoes.
I love having a batch ready because they instantly take any meal to the next level, and I know you’ll feel the same!
Ingredients
Here’s what I use when I make my crispy air fryer onions—simple, flavorful, and ready to give you that perfect crunch:
- 2 large yellow onions – I love yellow for its natural sweetness, but if you want a sharper kick, white onions work too.
- ½ cup all-purpose flour – This helps the coating stick and get nice and golden. You can swap in cornstarch if you want extra crunch.
- ½ cup breadcrumbs – Panko is my go-to because it gives that unbeatable crispiness.
- ½ teaspoon garlic powder – Adds a little savory punch I can’t live without.
- ½ teaspoon onion powder – For double the onion flavor (because why not?).
- ½ teaspoon paprika – Just enough warmth and color to make them look irresistible.
- ½ teaspoon salt – Balance is everything, so don’t skip it.
- ¼ teaspoon black pepper – I like a subtle kick, but you can adjust to taste.
- 1–2 tablespoons olive oil – Or use avocado oil spray if you want to keep it lighter.
- 1 egg – This helps the coating stick perfectly. If you’re skipping eggs, 2 tablespoons of milk works too.
Step-by-Step Instructions
Step 1: Prep the Onions
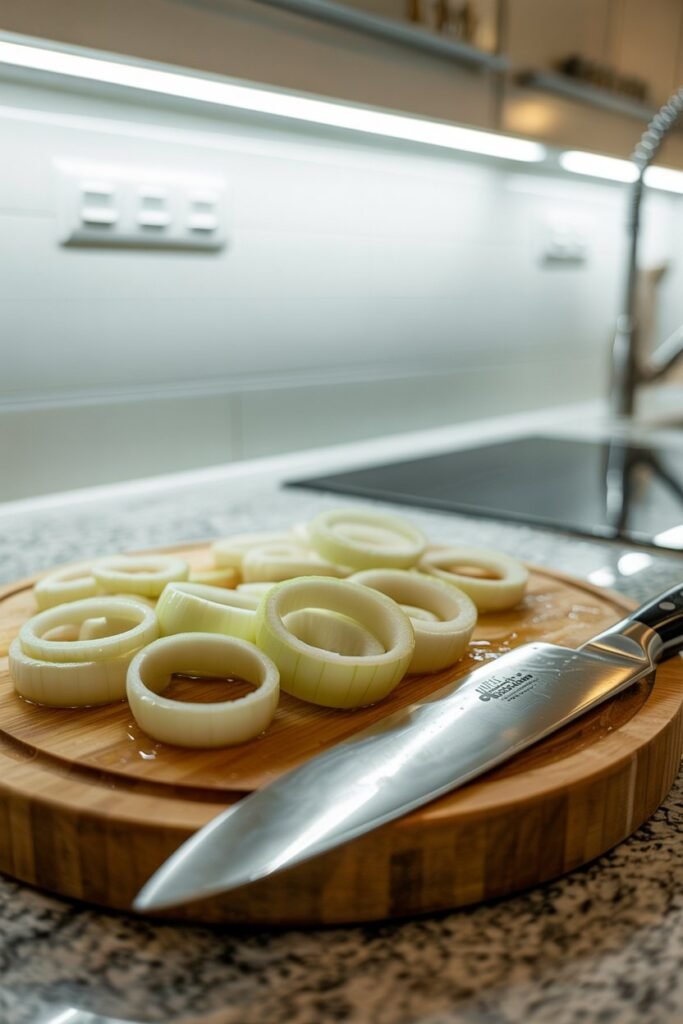
Peel your onions and slice them thinly—either into rings or half-moons, depending on how you want to use them. I like to take a moment to gently separate the slices so every piece gets coated evenly later.
This little step makes a huge difference in getting that perfect, crunchy texture.
Step 2: Coat the Onions
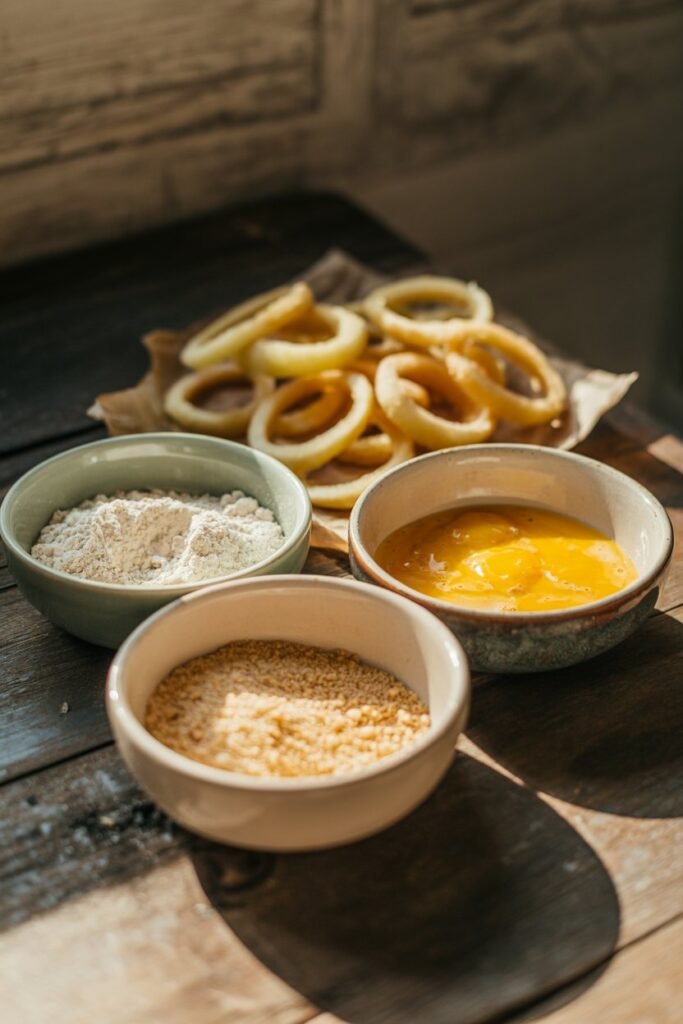
Grab three bowls to make life easier. In the first, mix together the flour, garlic powder, onion powder, paprika, salt, and pepper. In the second, whisk your egg—or milk if you’re going egg-free. In the third, pour in the breadcrumbs.
Now comes the fun part: take each onion slice and give it a little spa treatment—dip it first in the seasoned flour, then into the egg, and finally coat it with breadcrumbs. Shake off any extra crumbs so every bite is perfectly crunchy. I promise, this part is oddly satisfying!
Step 3: Arrange in the Air Fryer
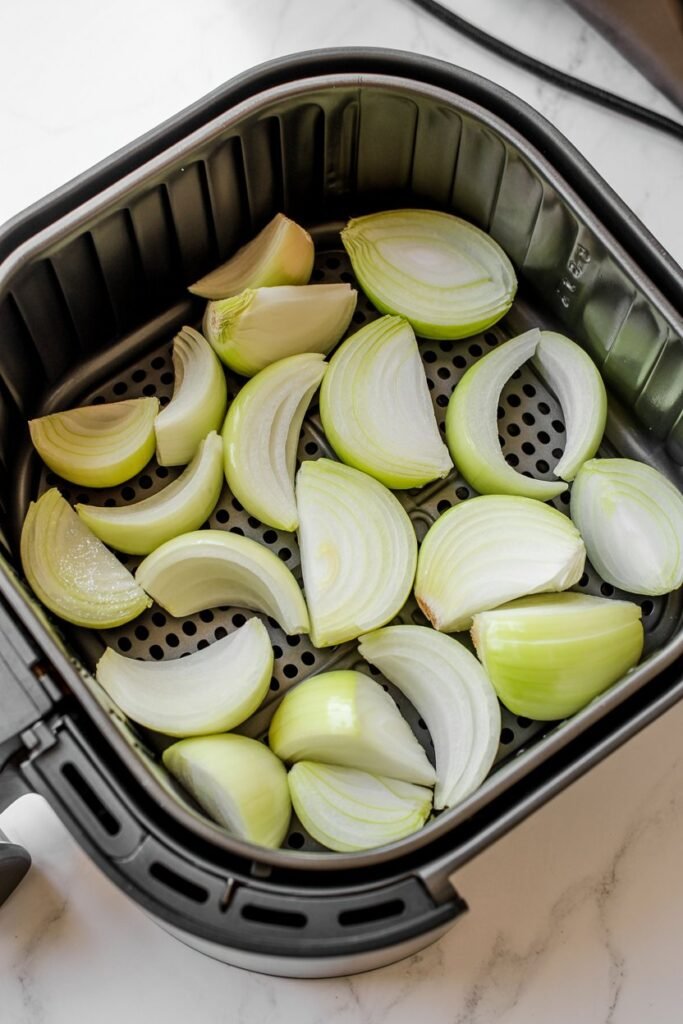
Give your air fryer basket a light spritz of oil—just enough so the onions don’t stick. Then, lay your coated onion slices in a single layer.
Make sure they have a little breathing room; crowded onions turn soggy, and we’re going for golden crunch here. If you’ve got a lot, just do a couple of batches—you’ll thank me when every slice comes out perfectly crispy.
Step 4: Air Fry Until Crispy
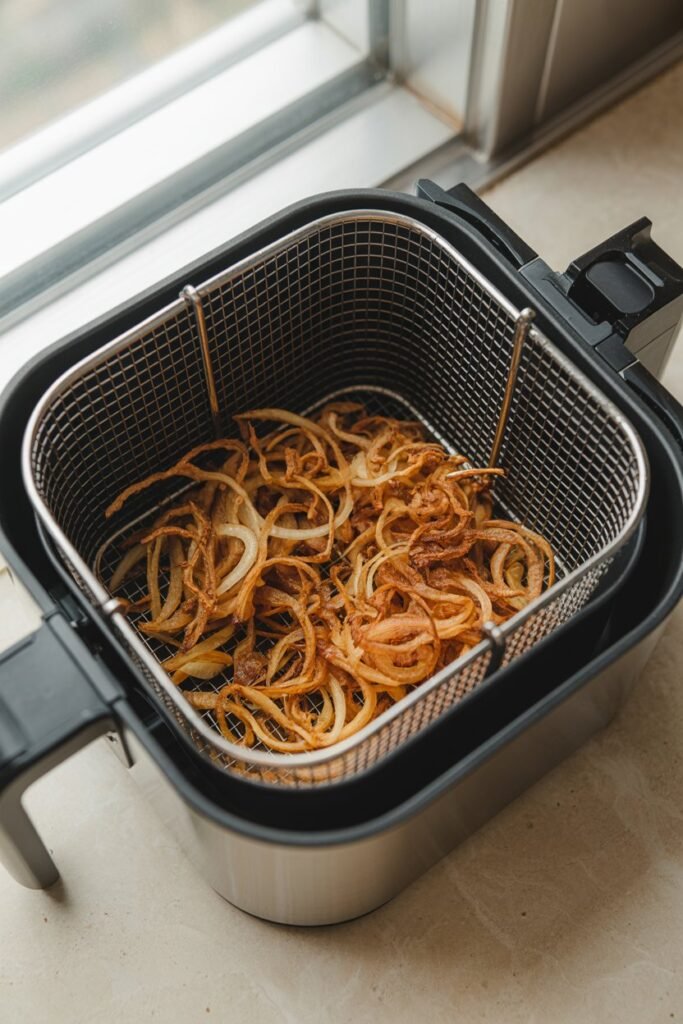
Pop the basket into your air fryer and cook at 375°F (190°C) for about 8–10 minutes. Halfway through, give the basket a good shake so the onions crisp evenly on all sides.
Keep an eye on them—they should turn golden brown and irresistible. If you feel they need a little extra help to get that perfect crunch, a light spritz of oil does wonders. Trust me, you’ll want to dive in as soon as they’re done!
Step 5: Serve or Store
- Serve hot as a topping or side.
- Store cooled onions in an airtight container at room temperature for up to 2 days, or refrigerate up to 4 days. Reheat in the air fryer for 2–3 minutes to restore crispiness.
How to Use Air Fryer Crispy Onions
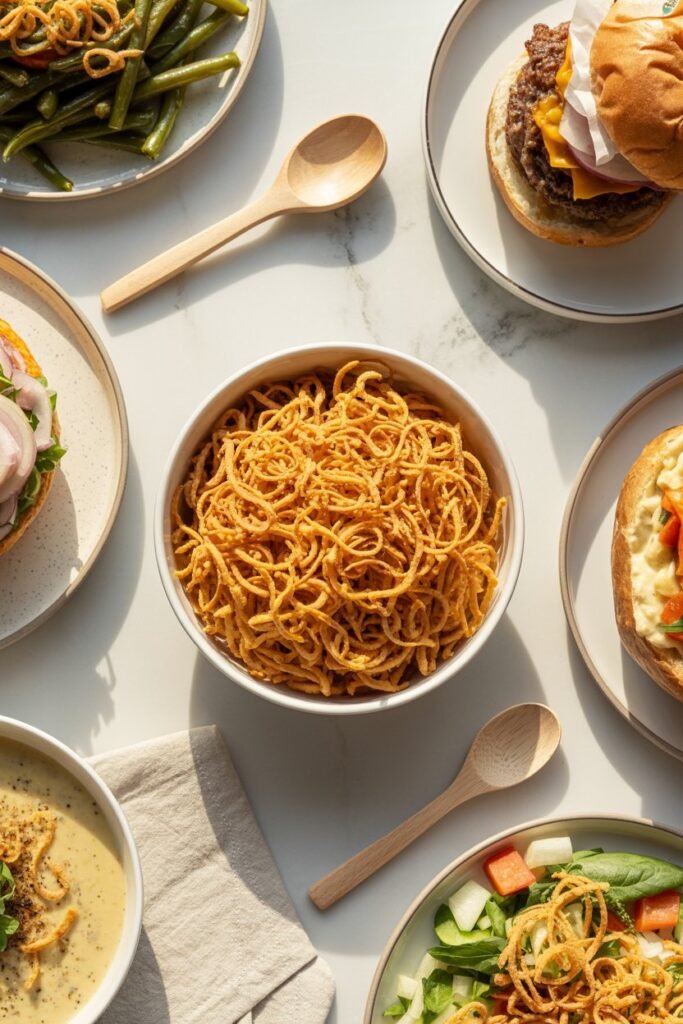
The best part about making a big batch of these crispy onions? You can literally sprinkle them on anything and instantly make it better. I’m not kidding — once you start, you’ll find yourself grabbing a handful for dishes that don’t even need toppings. Here are some of my favorite (and honestly, irresistible) ways to use them:
- Green Bean Casserole – That classic holiday dish hits different when you use fresh, homemade crispy onions instead of the store-bought can. Trust me, the upgrade is unreal.
- Soups – Butternut squash, French onion, creamy potato… a handful of these on top adds the perfect crunch and a pop of flavor.
- Burgers, hot dogs & sandwiches – This is where they shine. They add that restaurant-style crunch without the greasy aftermath.
- Salads – When I’m craving a little texture, I toss a few on top and suddenly my salad feels fancy and flavorful.
- Loaded baked potatoes – Add sour cream, cheese, butter, and a pile of crispy onions… it’s heaven.
- Curries & rice dishes – A sprinkle of crispy onions takes the flavor to a whole new level. They melt into the sauce just enough while still keeping a little crunch.
Once you start using them, you’ll wonder how you ever lived without a jar of these golden little gems in your kitchen.
Tips for Success
- Thin is better: Slice onions thin for maximum crispiness.
- Don’t overcrowd: Work in small batches so the air circulates well.
- Breadcrumbs matter: Use panko for extra crunch.
- Season to taste: Add cayenne for spice or Parmesan cheese for a savory twist.
- Storage tip: Always cool completely before storing, or they’ll go soggy.
Variations
Gluten-Free
If you or someone in your home avoids gluten, don’t worry — these crispy onions still come out amazing. Just swap the all-purpose flour for cornstarch, and use gluten-free breadcrumbs. You’ll still get that same crunchy texture, just without the gluten. Honestly, they crisp up beautifully.
Spicy Version
If you like a little heat (or you’re cooking for someone who does), sprinkle a bit of chili powder or cayenne into the flour mixture. It gives the onions a nice kick without overpowering the flavor. I make this version whenever I want something with attitude.
Cheesy Onions
This one is SO good. Mix a couple of tablespoons of grated Parmesan into the breadcrumb layer. When it air-fries, the cheese gets golden and adds this subtle salty crunch. It tastes like crispy onion rings crossed with cheesy garlic bread — in the best way.
Vegan Option
If you’re dairy-free or just prefer plant-based cooking, you can easily make these vegan. Skip the egg and dip the onions in unsweetened plant-based milk (like almond or oat milk). They still coat really well and turn out wonderfully crunchy.
Nutrition (per serving, approx.)
- Calories: 140
- Fat: 4g
- Carbohydrates: 22g
- Protein: 3g
- Fiber: 2g
(Lighter than traditional deep-fried onions, which can have double the fat and calories!)
Final Thoughts
Making crispy onions in the air fryer is one of the easiest kitchen hacks you’ll try. You get the same golden crunch without the heavy oil, plus the flexibility to use them across countless dishes. They’re quick, versatile, and way healthier than store-bought fried onions.
So next time you’re craving that crispy topping, skip the deep fryer and reach for your air fryer instead. Your taste buds — and your waistline — will thank you.
Air Fryer Crispy Onions | Low-Fat Fried Onions to Use in Many Dishes
Course: Snack / ToppingCuisine: AmericanDifficulty: Beginner4 cups
servings10
minutes10
minutes110 per serving (depending on oil amount)
These air fryer crispy onions are my go-to whenever I want something crunchy, golden, and ridiculously good without deep frying. They’re light, flavorful, and so easy to make — and honestly, once you try them, you’ll never go back to the store-bought version. I sprinkle them on everything from salads to burgers to casseroles, and they always add that perfect finishing touch.
Ingredients
2 large yellow onions (or white onions for a sharper flavor)
½ cup all-purpose flour (or cornstarch for extra crispiness)
½ cup breadcrumbs (panko is best)
½ teaspoon garlic powder
½ teaspoon onion powder
½ teaspoon paprika
½ teaspoon salt
¼ teaspoon black pepper
1–2 tablespoons olive oil (or avocado oil spray)
1 egg (or 2 tablespoons milk for egg-free option)
Directions
- Prep the onions
Peel your onions and slice them thinly into rings or strips — whatever you love most. Separate the pieces gently so every strand gets coated evenly later. - Set up your coating station
Grab three bowls:
• Bowl 1: Flour, garlic powder, onion powder, paprika, salt, pepper
• Bowl 2: Whisked egg (or milk)
• Bowl 3: Breadcrumbs - Load the air fryer
Spray your air fryer basket lightly with oil. Arrange the onions in a single layer — no stacking. If you’re making a big batch (which I always do), work in batches for the best crunch. - Air fry until crispy
Cook at 375°F (190°C) for 8–10 minutes, shaking the basket halfway through. They should come out golden, crunchy, and lightly browned. Add an extra spritz of oil if you want a deeper crisp.
Variations
- Gluten-Free: Use cornstarch + gluten-free breadcrumbs
Spicy: Add chili powder or cayenne to the flour mix
Cheesy: Add Parmesan to the breadcrumbs
Vegan: Dip onions in plant-based milk instead of egg
Storage
Store leftovers in an airtight container:
Room temperature: 2–3 days
Fridge: Up to 5 days
Reheat: 2–3 minutes in the air fryer to revive crispiness