If you love sushi, you know that the rice is the foundation. I still remember the first time I tried making sushi at home.
I had visions of rolling perfect California rolls and serving them to friends, but the rice had other plans.
It was sticky in some spots, dry in others, and every roll fell apart when I tried to slice it. I was so frustrated that I almost gave up.
Over time, I realized that perfect sushi rice is not just about cooking rice.

It’s about choosing the right rice, washing it correctly, soaking it just enough, cooking it with care, and seasoning it perfectly.
Once I mastered these steps, making sushi at home became fun instead of stressful.
Now I want to share everything I’ve learned with you so your sushi rice will be fluffy, slightly sticky, and flavorful every time.
Why Sushi Rice is Different From Regular Rice
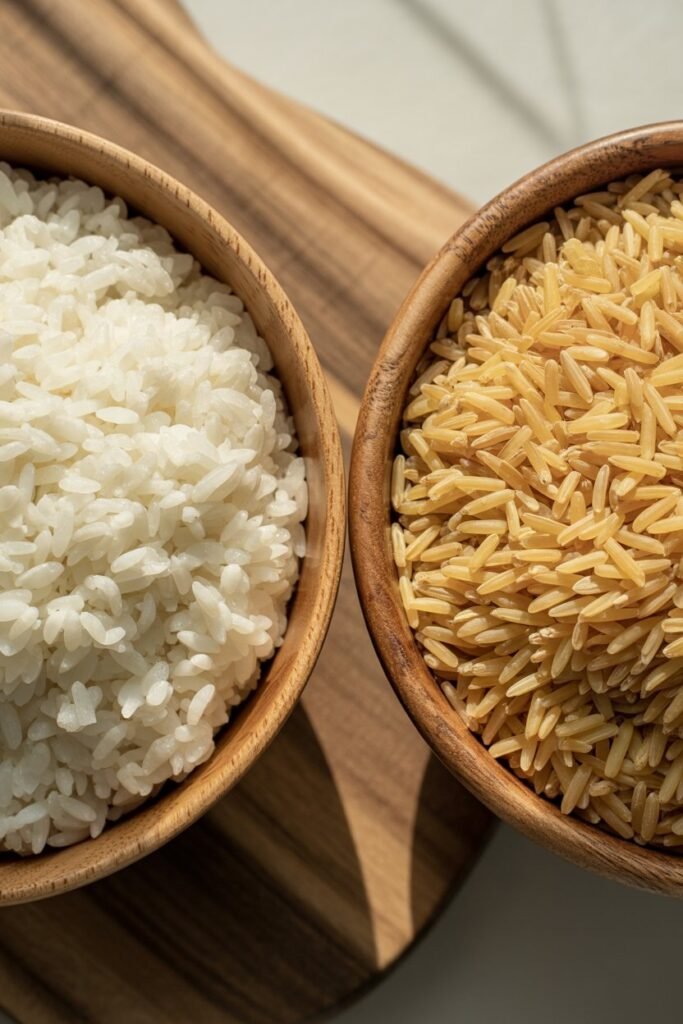
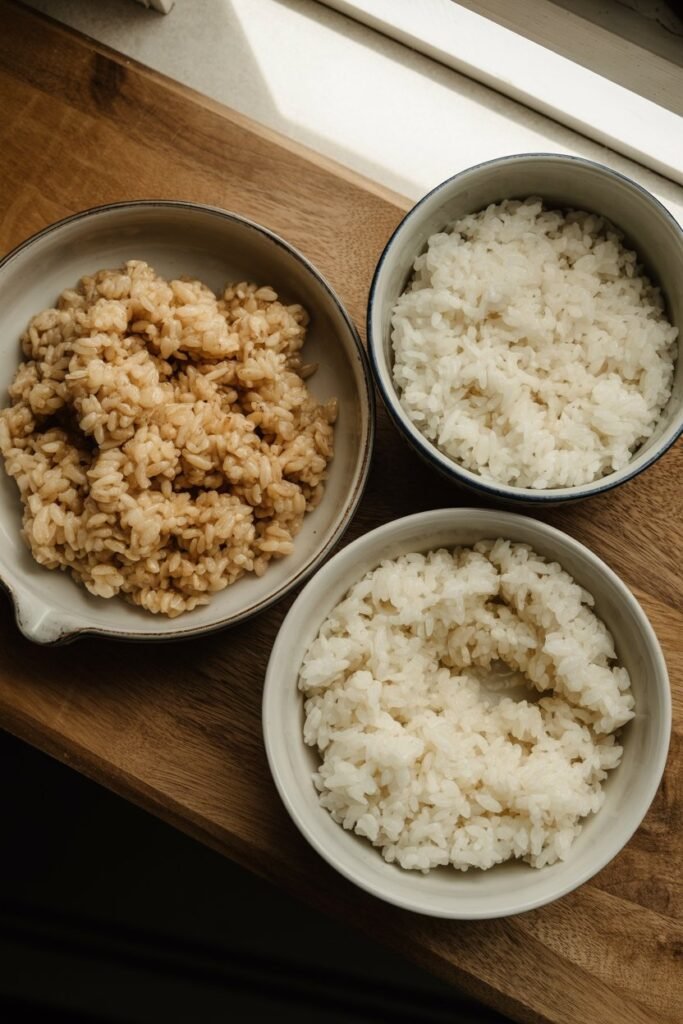
The first thing I learned is that not all rice is suitable for sushi. Sushi rice, or Japanese short-grain rice, is naturally starchy and slightly sticky.
This is essential because the stickiness helps your rolls hold together. I once tried using long-grain rice, thinking it would work. It was a disaster.
My rolls fell apart, and I spent more time cleaning the counter than enjoying sushi.
Short-grain rice absorbs the seasoned rice vinegar perfectly and has a texture that makes sushi so satisfying.
When done right, the rice itself is flavorful and slightly tangy, complementing fish, vegetables, or other fillings.
It is one of those small details that can make homemade sushi taste like it came from a restaurant.
Ingredients You Will Need
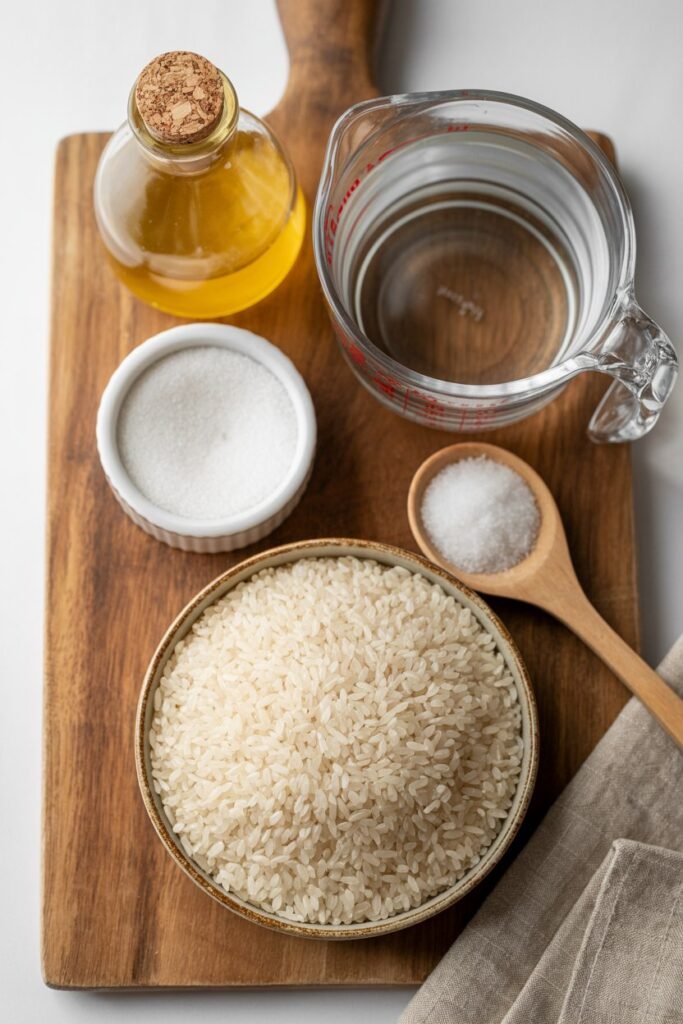
Before we get started, here is a list of the ingredients I always keep on hand when making sushi rice:
- 2 cups Japanese short-grain rice – This is non-negotiable. It is sticky enough for rolling but not mushy.
- 2 ½ cups water – Perfect for cooking the rice evenly.
- ¼ cup rice vinegar – Adds flavor and that signature sushi tang.
- 2 tablespoons sugar – Balances the acidity of the vinegar.
- 1 teaspoon salt – Enhances flavor and rounds out the seasoning.
I like to have everything measured and ready before I start. It makes the process smoother and helps me focus on cooking instead of scrambling for ingredients.
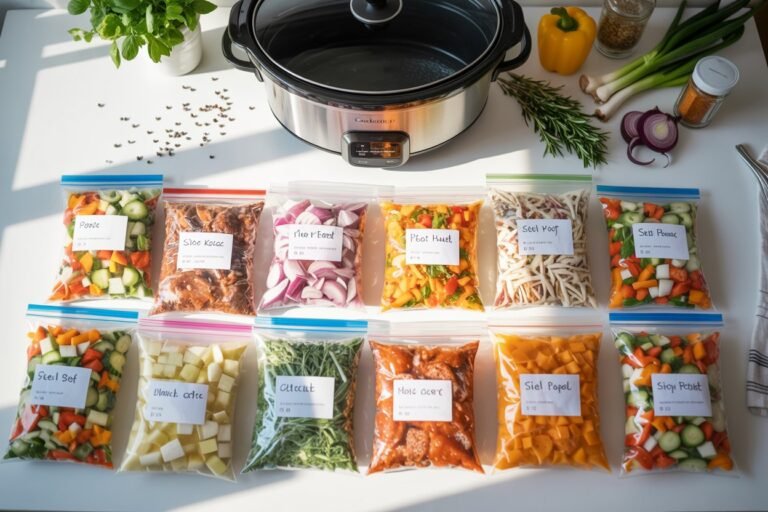
How to Meal Prep Sushi Rice
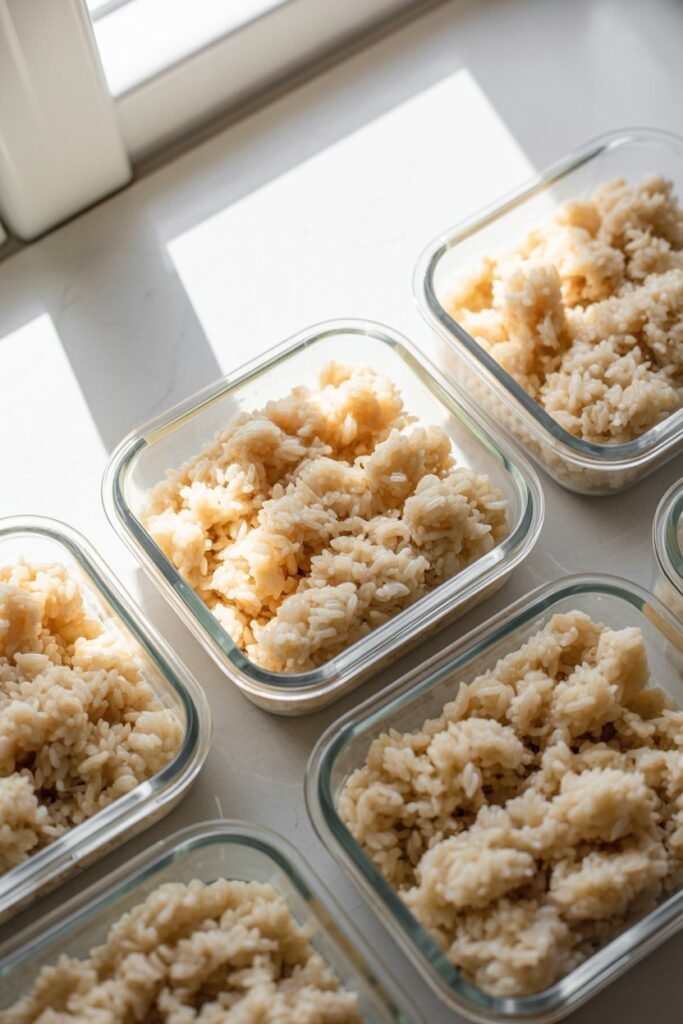
Meal prepping sushi rice is simple and saves time during busy days.
After cooking and seasoning the rice, let it cool to body temperature.
Divide it into small airtight containers or bowls.
Keep the rice at room temperature for a few hours, or in a rice cooker on the “warm” setting if you plan to use it later.
When you’re ready, grab a portion for quick sushi rolls, bowls, or rice balls.
This way, you can enjoy homemade sushi anytime without spending extra time in the kitchen.
The Secret to Perfect Sushi Rice
Here’s something I didn’t realize at first. Sushi rice is more than just rice. It’s a combination of technique, patience, and timing.
From washing the rice to seasoning it with vinegar, each step matters.
I’ve noticed that skipping one step, like soaking or properly mixing the seasoning, can make the rice too sticky or too dry.
One of my favorite tips is to treat the rice gently.
Use a wooden spatula to fold the vinegar mixture into the rice, rather than stirring aggressively.
This keeps the grains intact while ensuring every grain is coated with seasoning.
Common Mistakes to Avoid
I’ve made plenty of mistakes on my sushi journey, and I want you to avoid them:
- Skipping the rinse – Rinsing the rice removes excess starch and prevents it from becoming too gummy.
- Not soaking the rice – Soaking allows the rice to absorb water evenly and cook perfectly.
- Using the wrong vinegar – Only rice vinegar works; other types are too harsh.
- Mixing too aggressively – Stirring or smashing the rice destroys the texture and makes it mushy.
Avoiding these mistakes will save you a lot of frustration and help you enjoy sushi making instead of stressing over it.
How to Wash and Soak Sushi Rice Properly
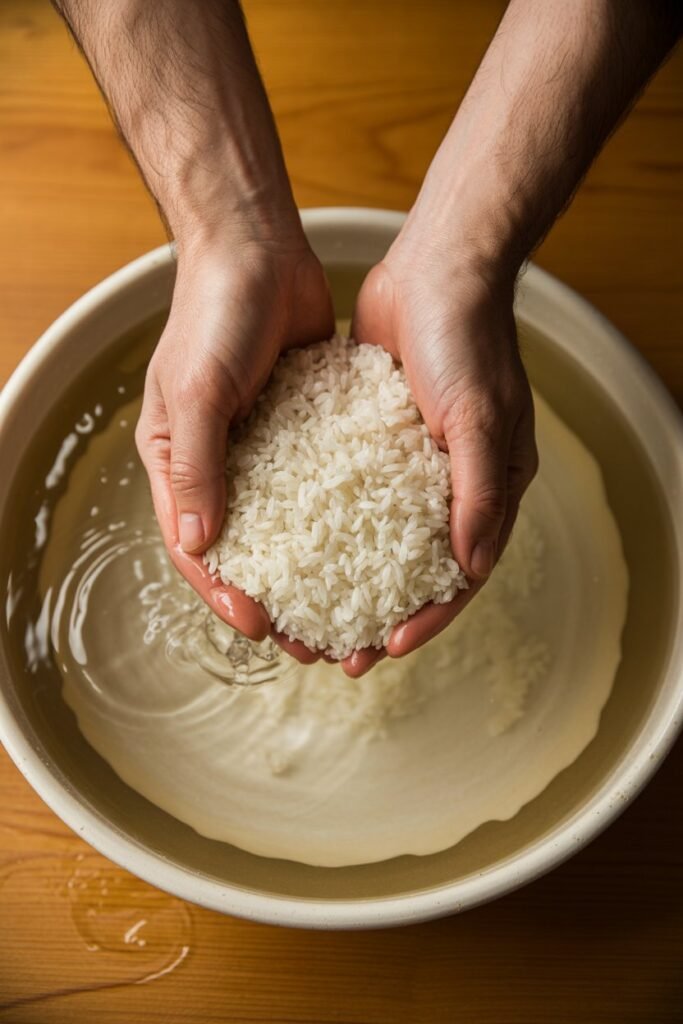
I cannot stress this enough: washing and soaking your rice correctly is the foundation of perfect sushi rice.
When I first started, I skipped these steps and ended up with sticky, clumpy rice that would not roll.
Once I mastered it, everything changed.
Step 1: Washing the Rice
- Measure 2 cups of Japanese short-grain rice into a large bowl.
- Fill the bowl with cold water and gently stir the rice with your hand. You want to move the grains around without breaking them.
- Drain the cloudy water and repeat. Typically, I rinse the rice 3 to 5 times until the water becomes almost clear.
This step removes excess starch and ensures your rice will be tender, not gummy. Think of it as prepping the rice to absorb just the right amount of water and seasoning later.
Step 2: Soaking the Rice
Once the rice is washed, cover it with fresh water and let it soak for at least 30 minutes. I usually start soaking while I prepare my seasoning.
Soaking allows the grains to absorb water evenly, which prevents undercooked or dry centers.
This step is especially important if you are cooking on the stove. If I skip soaking, the rice comes out uneven and disappointing.
Cooking Sushi Rice Perfectly
Now that your rice is washed and soaked, it’s time to cook it. You can do this on a stove or with a rice cooker.
Both methods work if you follow the right steps.
Option 1: Cooking on the Stove
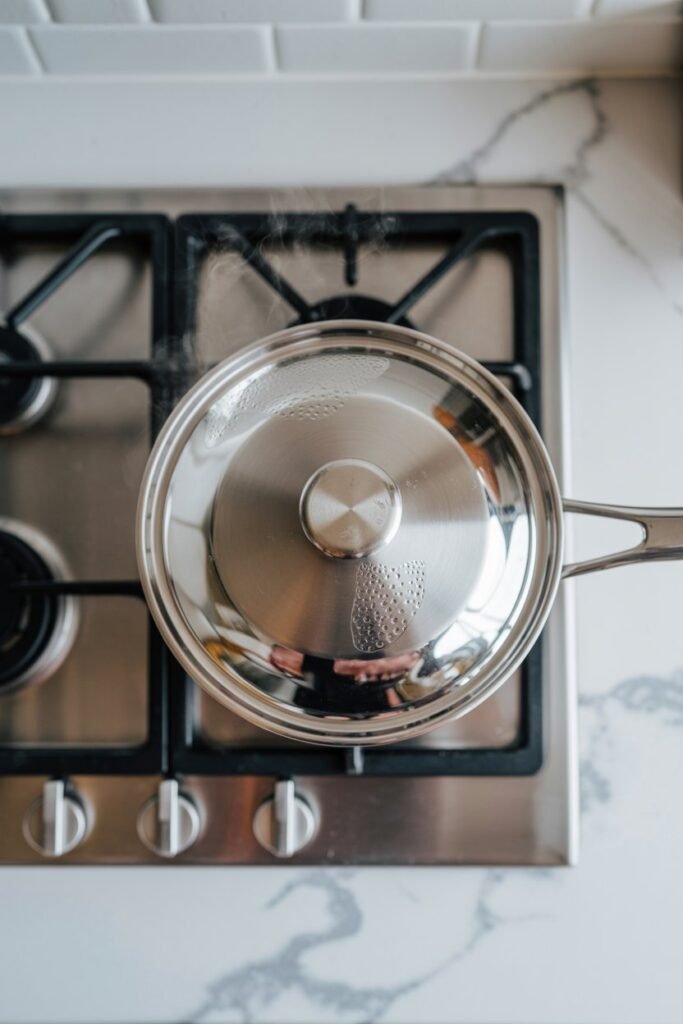
- Place the soaked rice and 2 ½ cups of water in a medium saucepan.
- Cover with a tight-fitting lid and bring to a gentle boil over medium heat.
- Once boiling, reduce the heat to low and simmer for 12 to 15 minutes.
- Turn off the heat and let the rice sit, covered, for 10 minutes to finish steaming.
A key tip: do not lift the lid while cooking. Steam is what finishes the rice perfectly. I’ve ruined batches by peeking too early, and I learned the hard way.
Option 2: Using a Rice Cooker
If you have a rice cooker, it makes things easier.
Add the soaked rice and water, select the “white rice” setting, and let the cooker do its magic.
Most modern rice cookers also keep the rice at the right temperature after cooking, which is perfect if you are rolling sushi for a group.
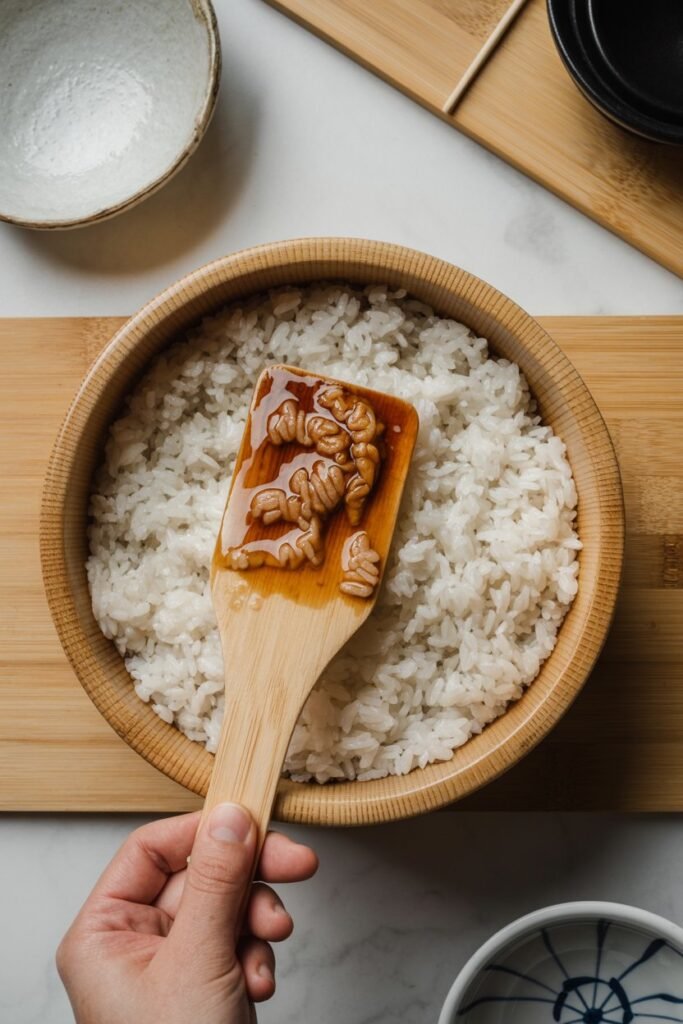
Tips for Cooling Sushi Rice to the Right Temperature

After cooking, the rice should not go straight into rolls while hot. I always follow these steps to cool it properly:
- Transfer the cooked rice to a wooden or plastic bowl. Avoid metal bowls because vinegar reacts with metal.
- Gently fold in your vinegar, sugar, and salt mixture using a wooden spatula. I use a cutting and folding motion, so the grains stay intact.
- Use a fan or gently wave a piece of cardboard over the rice while folding. This cools the rice to body temperature and gives it a slight sheen, which is how sushi rice looks in restaurants.
Pro tip: The rice should feel slightly warm, not hot, when you start rolling sushi. Hot rice will make the nori soggy and hard to handle.
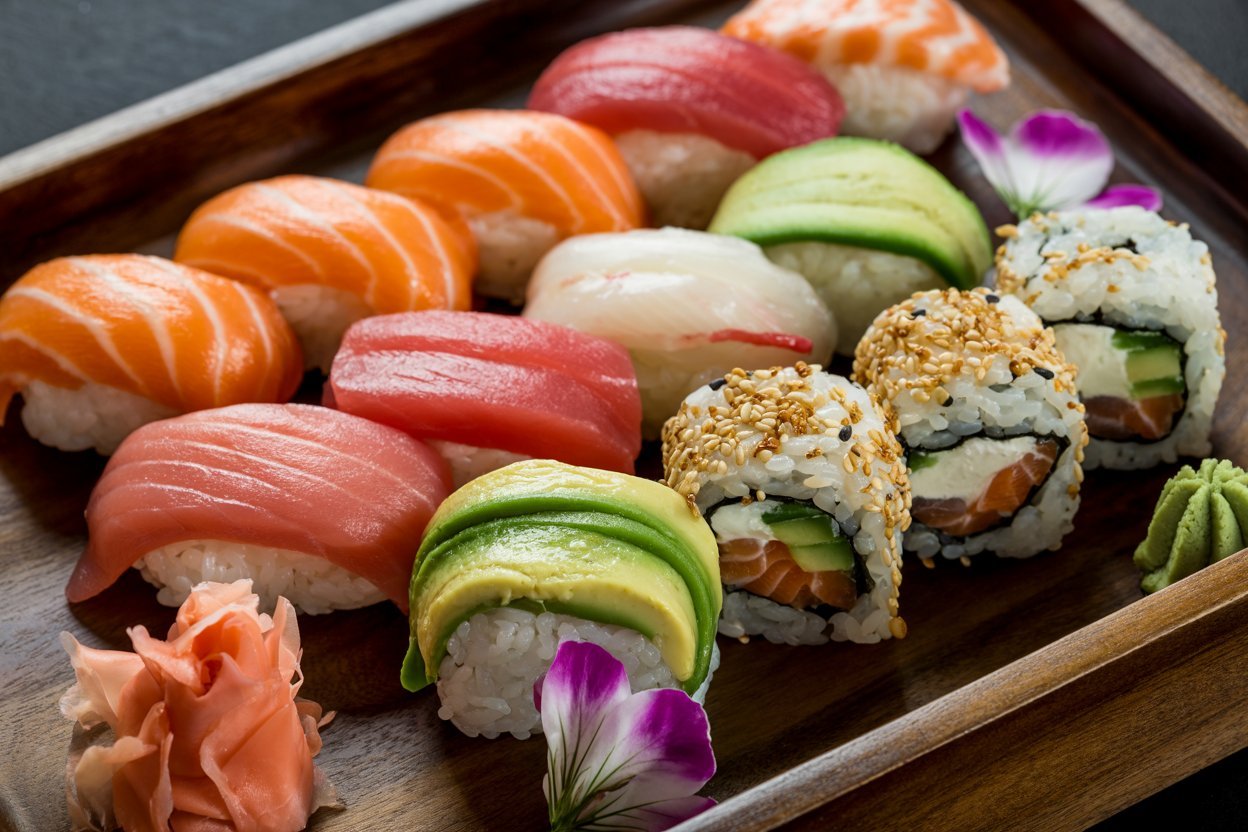
Rolling Sushi Rice: Tips for Beginners
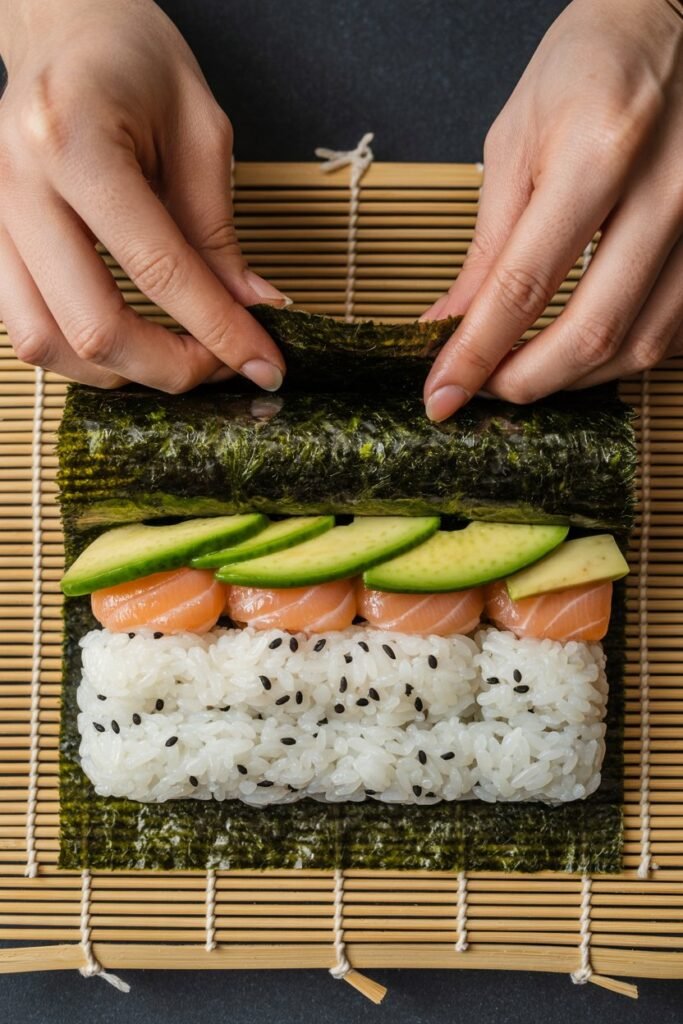
Once your rice is perfect, it’s time to roll. The rice should be slightly warm and sticky, but not mushy. Here’s what I do:
- Lay a sheet of nori on a bamboo sushi mat.
- Wet your hands lightly with water to prevent rice from sticking.
- Spread a thin, even layer of rice over the nori, leaving about an inch at the top free.
- Add fillings like cucumber, avocado, or fish.
- Roll tightly using the bamboo mat, applying gentle pressure.
- Slice with a sharp knife dipped in water to prevent sticking.
A tip I love: Don’t overfill your rolls. Less is more when it comes to neat sushi rolls, especially as a beginner.
Storing Sushi Rice
Sometimes I make rice ahead of time for a party or family meal. You can store sushi rice for a few hours at room temperature in a covered bowl.
Do not refrigerate it; cold rice changes the texture and makes it hard to roll.
If you must store it longer, keep it in a rice cooker on the warm setting. This keeps the rice soft and sticky without drying out.
Final Thoughts
Making perfect sushi rice takes a little practice, but once you get it right, it transforms your homemade sushi. The key is:
- Use short-grain rice
- Wash and soak thoroughly
- Cook with the right water ratio
- Season gently and fold carefully
- Cool to the right temperature before rolling
I personally rotate these techniques depending on whether I’m making a few rolls for myself or preparing sushi for a full dinner.
Over time, you’ll develop a rhythm and your rice will come out perfect every time.
Making sushi at home is not just about cooking; it’s about enjoying the process.
When you serve sushi you made yourself, perfectly seasoned and rolled, it’s an incredible feeling.
Trust me, your friends and family will be impressed, and you’ll never want to go back to store-bought sushi again.