I’ll never forget the first time I made deviled eggs for my sister’s birthday brunch. I was nervous. I mean, how hard could it be, right?
But I wanted them to be perfect, creamy and flavorful, the kind that disappear before you can even set the tray on the table.
When I brought them out, my sister’s friends went wild, and I swear half of them ended up sneaking second ones before anyone noticed. That day I realized deviled eggs are magic, and making them doesn’t have to be complicated.
Since then, I’ve perfected my method for creamy, tangy, irresistible deviled eggs every single time. No green yolk rings, no dry filling, just smooth, flavorful bites that everyone reaches for first.

Whether you’re bringing them to a brunch, a holiday gathering, or just enjoying them as a protein-packed snack, these deviled eggs always steal the show.
Why You’ll Love These Deviled Eggs
They are so easy to make. Once I have my eggs boiled, I can whip up the filling in under 10 minutes.
You can make them ahead of time. I often prepare them the night before a brunch or party, and they taste just as fresh the next day.
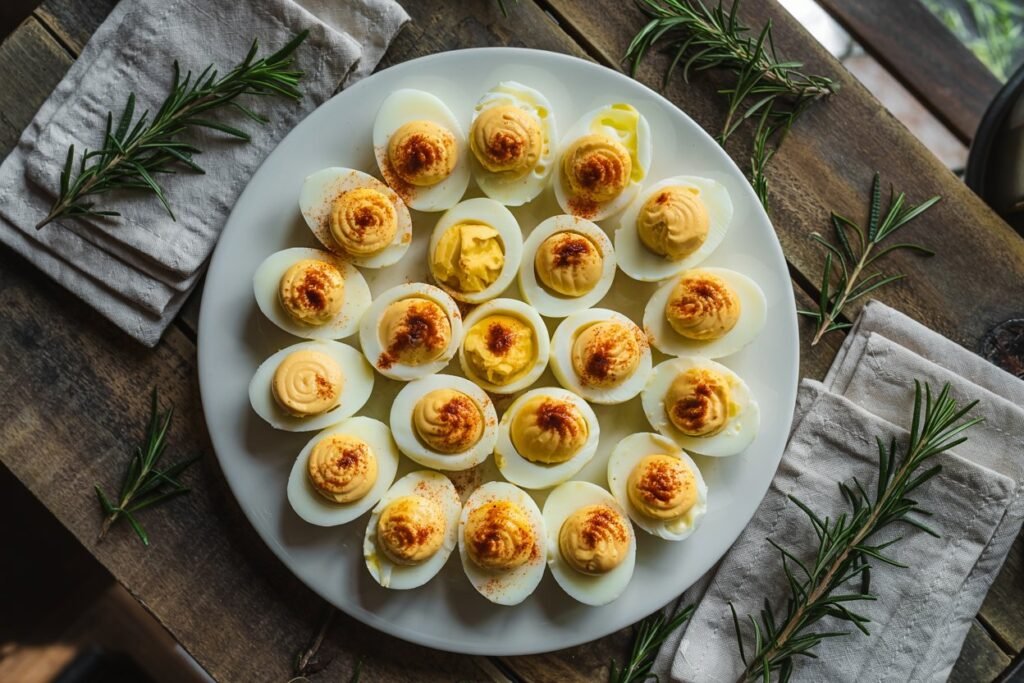
They taste amazing. The filling is creamy and tangy, with just the right touch of seasoning and a sprinkle of paprika on top.
Customizable. I love playing around with flavors—sometimes I add crispy bacon, chopped pickles, or a few drops of hot sauce to give them a little extra kick.
Ingredients You’ll Need
Here’s everything you need to make classic deviled eggs:
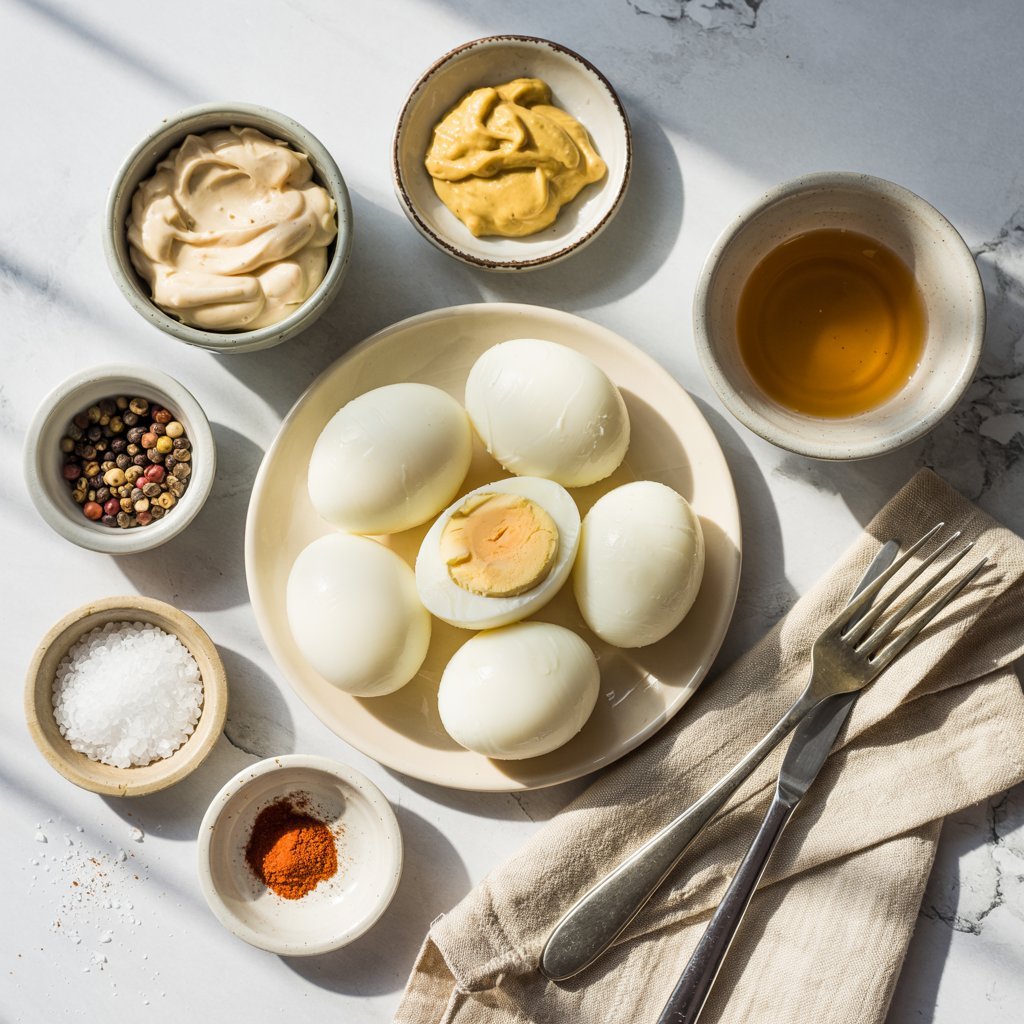
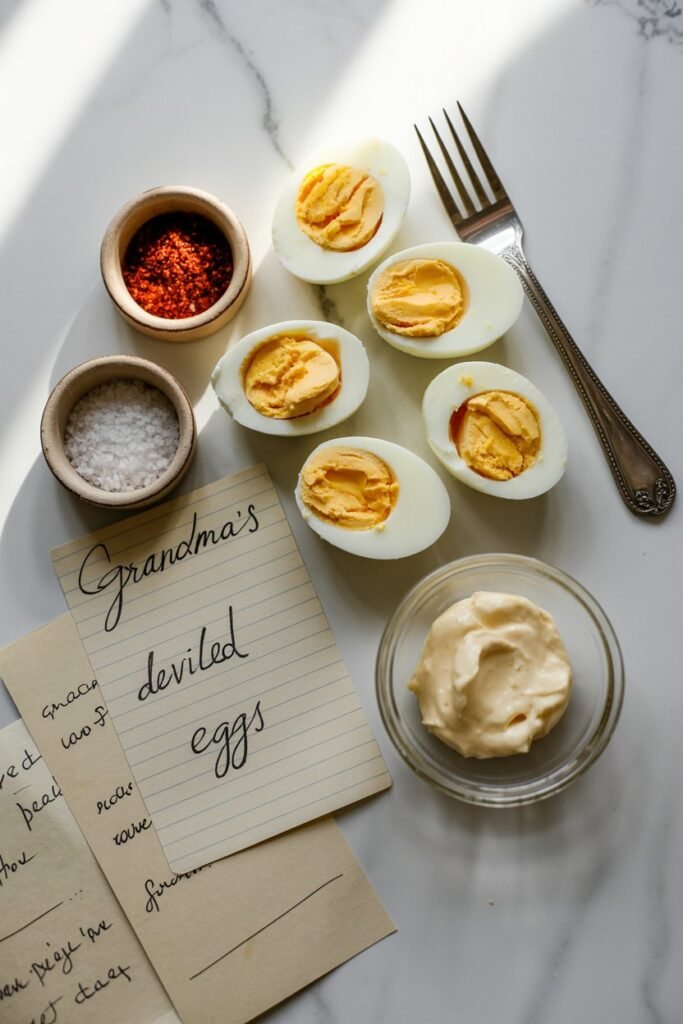
- 6 large eggs, hard boiled and peeled
- 3 tablespoons mayonnaise
- 1 teaspoon Dijon mustard
- 1 teaspoon apple cider vinegar
- Salt and pepper, to taste
- Paprika, for garnish (optional but I highly recommend it for that classic look and flavor)
That’s it. Simple, classic, and totally foolproof. If I’m making these for a crowd, I always double or triple the batch because they vanish so quickly!
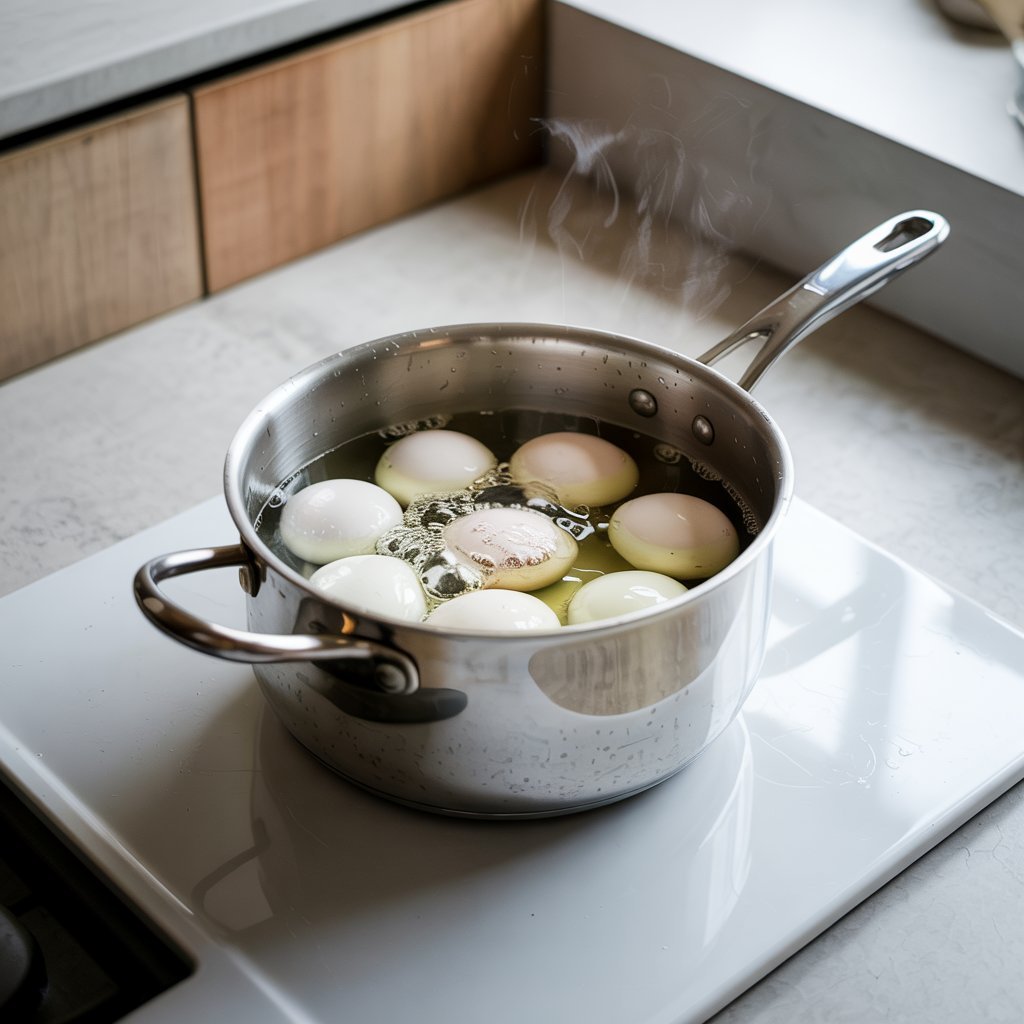
The Secret to Perfect Hard Boiled Eggs
Okay, before we get into assembling your deviled eggs, we need to talk about the egg boiling process—because this step makes or breaks your final result.
You know that green/gray ring that sometimes shows up around the yolk? That’s a sign your eggs were overcooked. It won’t hurt you, but it definitely doesn’t look cute.
Here’s how I boil eggs perfectly every time:
- Place your eggs in a saucepan in a single layer.
- Cover them with cold water by about an inch.
- Bring the water to a rolling boil over medium-high heat.
- As soon as it starts boiling, remove the pot from the heat, cover it, and let the eggs sit for 10–12 minutes.
- Transfer them to a bowl of ice water immediately and let them chill for at least 5–10 minutes before peeling.
✨ Pro tip: Slightly older eggs peel easier than super fresh ones. So if you’re planning ahead, buy your eggs a few days before boiling.
Step-by-Step: How to Make Deviled Eggs
Once your eggs are perfectly boiled and peeled, here’s what to do next:
1. Slice the Eggs
Grab a sharp knife and slice each egg lengthwise down the middle. I like to use a gentle sawing motion to avoid squishing the whites.
Carefully pop out the yolks and place them into a small mixing bowl. Arrange the egg whites on a serving platter so they’re ready for filling.
I always take a second to admire the neat little egg “boats” before the fun part.
2. Make the Filling
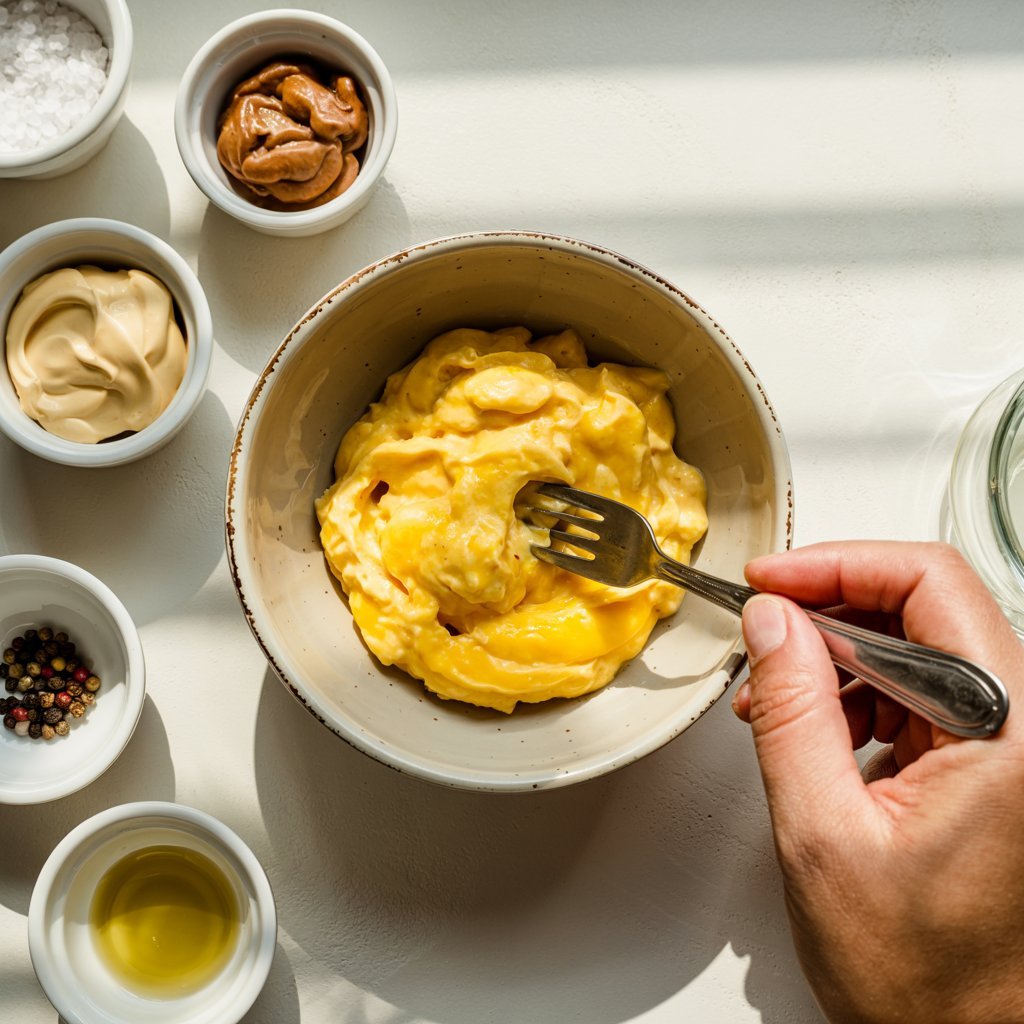
Mash the yolks with a fork until they’re crumbly and smooth. Then add:
- 3 tablespoons mayonnaise
- 1 teaspoon Dijon mustard
- 1 teaspoon apple cider vinegar
- Salt and pepper to taste
I like to stir slowly at first, then really mix until the filling is silky and creamy. If it feels too thick, I sneak in a tiny bit more mayo—it’s the secret to that dreamy texture that makes everyone go back for seconds.
This is also the moment I taste and tweak, because every family’s taste buds are different!
3. Fill the Egg Whites
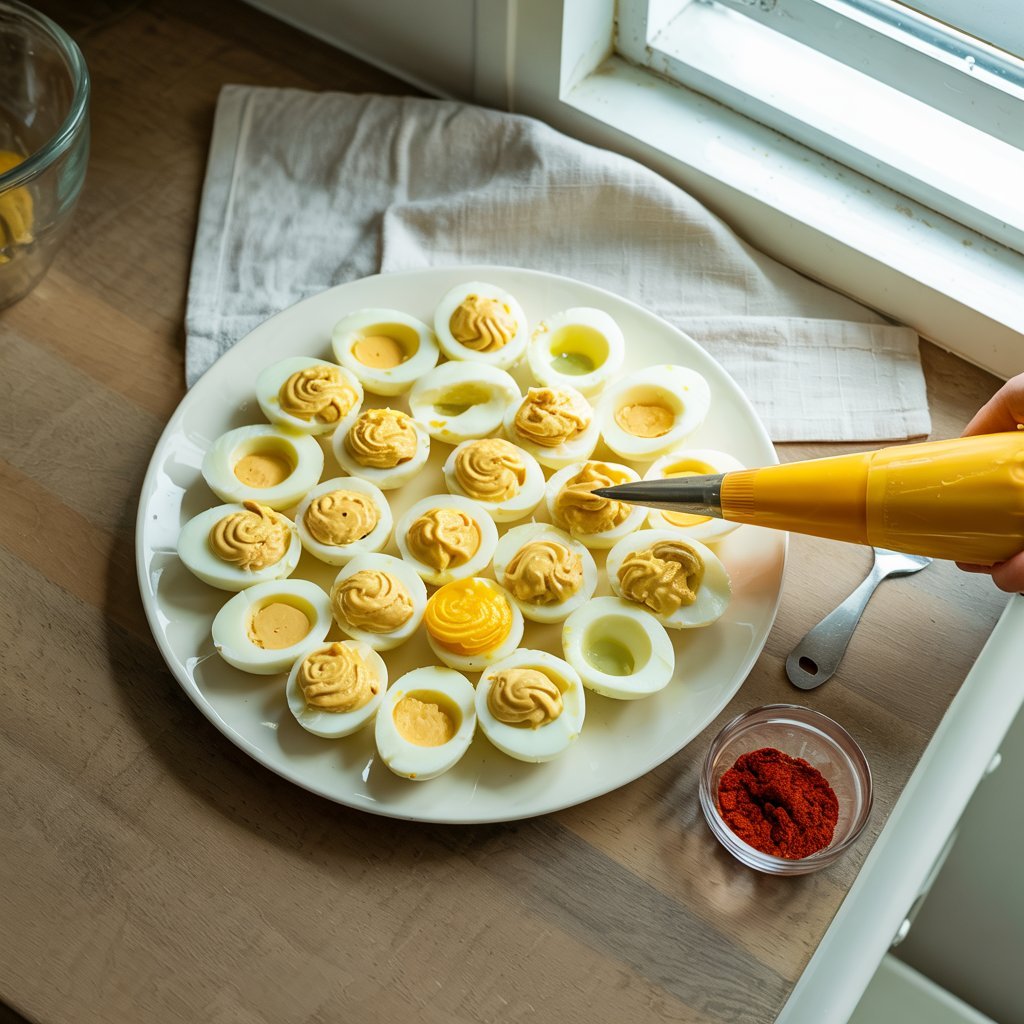
Spoon the yolk mixture back into the egg whites, or if I’m feeling fancy, I use a piping bag with a star tip.
I love that piping them makes the eggs look like they came from a bakery, even though it only took a few minutes. Filling them is my favorite part—there’s something oddly satisfying about seeing all those creamy little egg halves lined up and ready to eat.
4. Garnish and Serve
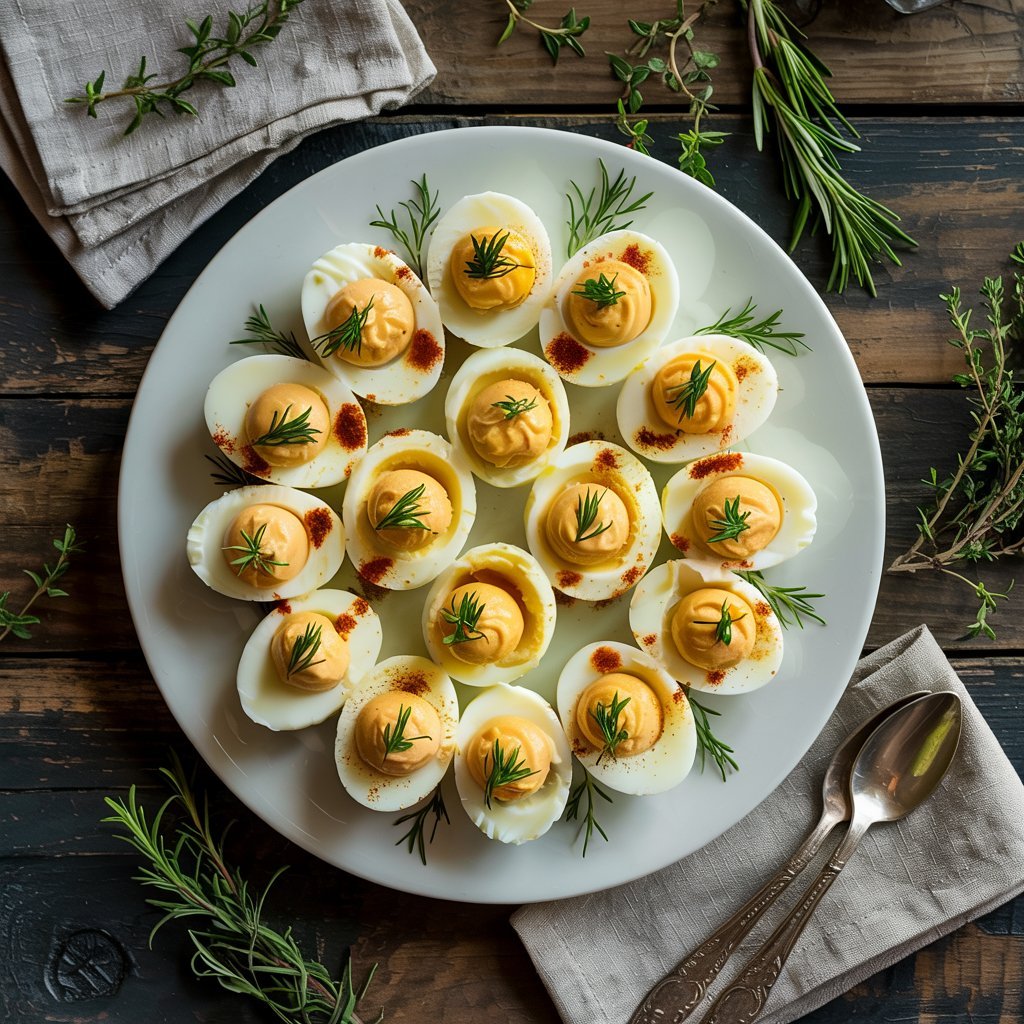
Finish with a sprinkle of paprika for that classic look. Sometimes I add chopped chives, a few crispy bacon bits, or even a tiny drizzle of hot sauce for an extra kick.
Serve immediately or cover and chill until you’re ready to wow your guests. I always make a mental note to hide a few for myself—they’re way too easy to eat straight from the fridge!
Tips for Perfect Deviled Eggs
Over the years, I’ve learned a few tricks that make my deviled eggs turn out perfect every time:
- Peel with ease: After chilling your eggs in ice water, gently tap them all over and roll them on the counter. The shells practically fall off, which saves me so much frustration.
- Mix for creaminess: I like to mash the yolks until completely smooth before adding mayo and mustard. This gives the filling a silky texture that everyone loves.
- Taste as you go: I always taste a tiny bit of the filling before piping or spooning it in. Sometimes a little extra salt, vinegar, or mustard is just what it needs.
- Keep it cool: Store the deviled eggs in the fridge until serving to keep the filling firm and the eggs fresh.
Variations to Try
I love to play around with flavors depending on the occasion or what I have in the kitchen:
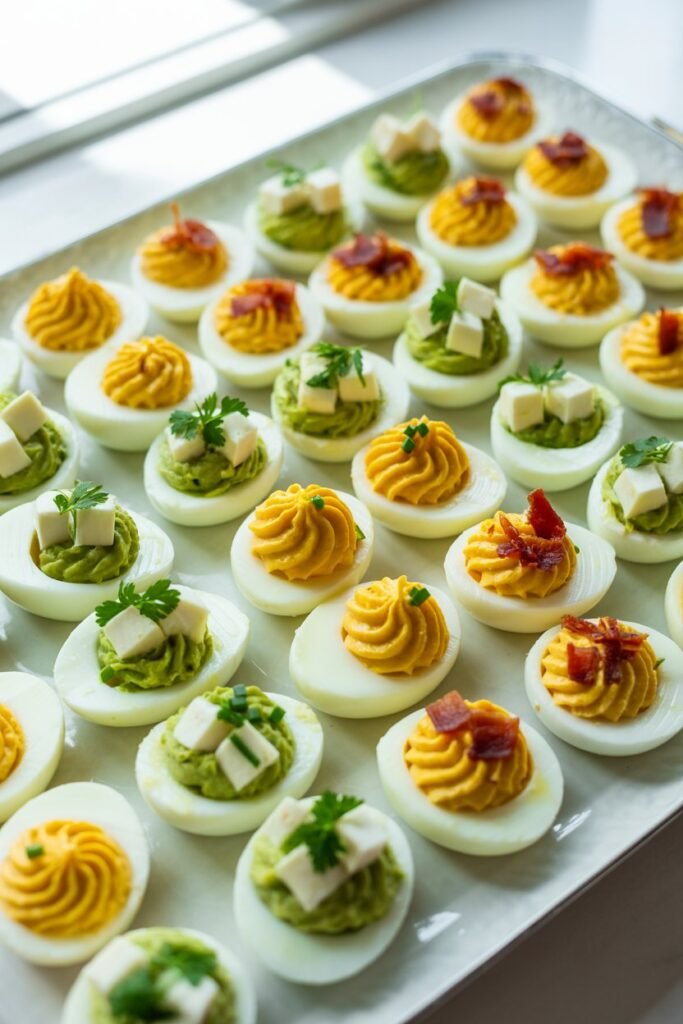
- Bacon and cheddar: Sprinkle crispy bacon bits and shredded cheddar on top for a kid-friendly favorite.
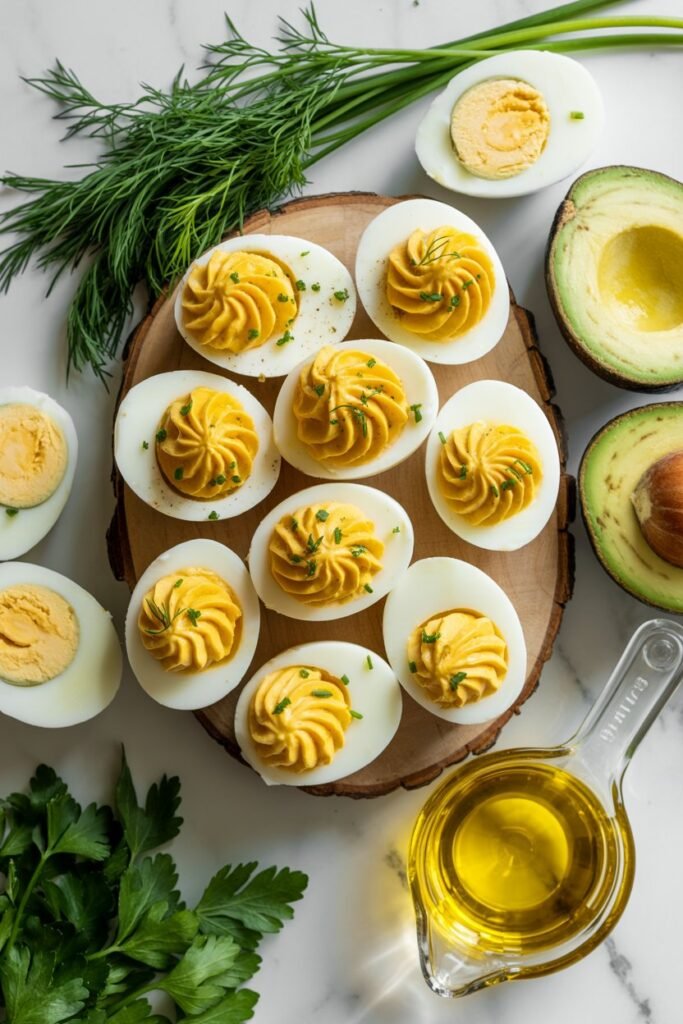
- Herby twist: Mix in chopped chives, dill, or parsley for a fresh, vibrant flavor.
- Spicy kick: Add a dash of hot sauce, smoked paprika, or a tiny pinch of cayenne to the filling for some heat.
- Avocado deviled eggs: Swap half the mayo with mashed avocado for a creamy, green twist that’s extra nutritious.
These little tweaks make deviled eggs fun and keep them from feeling boring. I usually make a classic batch and then experiment with one or two variations just for me.
How to Store and Reheat
- Refrigerator: Cover and store in an airtight container for up to 3 days. The filling stays creamy, and the eggs are still firm.
- Transport tip: If you’re taking deviled eggs to a picnic or party, use a deviled egg carrier or line a container with parchment paper to keep them secure.
- Do not freeze: Deviled eggs don’t freeze well because the filling can become watery. Trust me, they’re too good to save anyway—you’ll eat them all before thinking about leftovers.
Health Benefits
I love that deviled eggs feel indulgent but actually pack a nutritional punch:
- High in protein: Eggs are full of protein, which helps keep me full and energized throughout the day.
- Rich in vitamins: Eggs contain vitamin D, B12, and choline, which support bone health, brain function, and metabolism.
- Customizable for health: By swapping in avocado or Greek yogurt for some of the mayo, I can make them even lighter without sacrificing creaminess.
It’s nice to know that a dish so loved at parties and family dinners can also be a wholesome choice.
How to Make Deviled Eggs
Course: Appetizer / SnackCuisine: AmericanDifficulty: Easy6 (12 halves)
servings15
minutes12
minutes100 kcal
kcalThese deviled eggs are creamy, tangy, and perfect for parties, holidays, or a quick protein-packed snack. Ready in under 30 minutes, they’re simple, customizable, and always a crowd-pleaser.
Ingredients
6 large eggs, hard boiled and peeled
3 tablespoons mayonnaise
1 teaspoon Dijon mustard
1 teaspoon apple cider vinegar
Salt and pepper, to taste
Paprika, for garnish (optional)
Add crumbled bacon or finely chopped pickles
Mix in avocado for a creamy twist
Sprinkle chopped chives or fresh herbs
Directions
- To start, place the eggs in a saucepan in a single layer and cover them with cold water by about an inch. Bring the water to a rolling boil over medium-high heat. As soon as it starts boiling, remove the pot from heat, cover it, and let the eggs sit for 10 to 12 minutes. Then transfer the eggs to a bowl of ice water for at least 5 to 10 minutes before peeling. Slightly older eggs peel easier, so this trick makes the process much smoother.
- Once the eggs are cooled and peeled, slice each egg lengthwise in half. Gently remove the yolks and place them in a small mixing bowl, arranging the whites on a serving platter. Using a fork, mash the yolks until smooth and crumbly. Add the mayonnaise, Dijon mustard, apple cider vinegar, and a pinch of salt and pepper, mixing until the filling is creamy. Taste and adjust the seasoning as needed.
- Spoon or pipe the yolk mixture back into the egg whites, creating neat little mounds. For a finishing touch, sprinkle paprika over the top and optionally garnish with chopped chives or parsley. Serve immediately or refrigerate until you’re ready to impress your guests.
Recipe Video
Tips for Success
- Slightly older eggs peel easier than fresh ones. Don’t overmix the yolk filling; keeping it light and creamy will give the best texture. If you want a professional look, use a piping bag to fill the egg whites.
Variations
For a spicy twist, add a few drops of hot sauce to the yolk mixture. Mix in shredded cheddar or Parmesan for a cheesy version. Fresh herbs like parsley, chives, or dill add a burst of freshness. For a healthier option, substitute half the mayonnaise with Greek yogurt.
Conclusion
Deviled eggs are more than just a classic appetizer—they’re a little moment of joy on a plate. I love making a batch for family dinners, potlucks, or even just a quick snack, knowing they will disappear in minutes.
From perfectly boiled eggs to silky smooth filling and a touch of paprika on top, each step feels like a small act of care. Every time I serve these, I get the same reaction: smiles, happy little bites, and often, a request for seconds.
Once you master the basic recipe, the variations are endless. You can make them classic, spicy, cheesy, or herby. They’re quick to make, look beautiful on a tray, and taste absolutely irresistible.
Trust me, once you try this recipe, deviled eggs will be your go-to appetizer, snack, or even a small breakfast treat when you need a little pick-me-up.